Last updated November 20, 2026
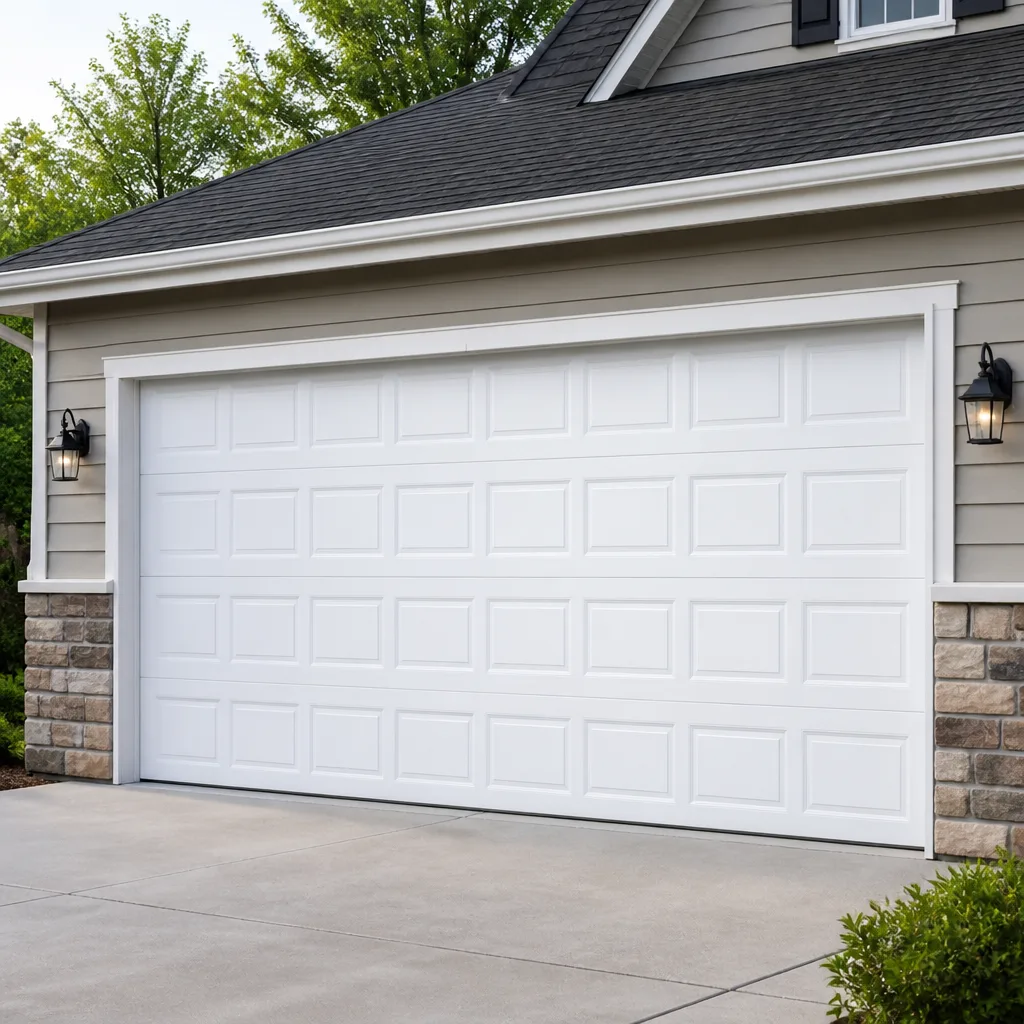 Raised-panel steel
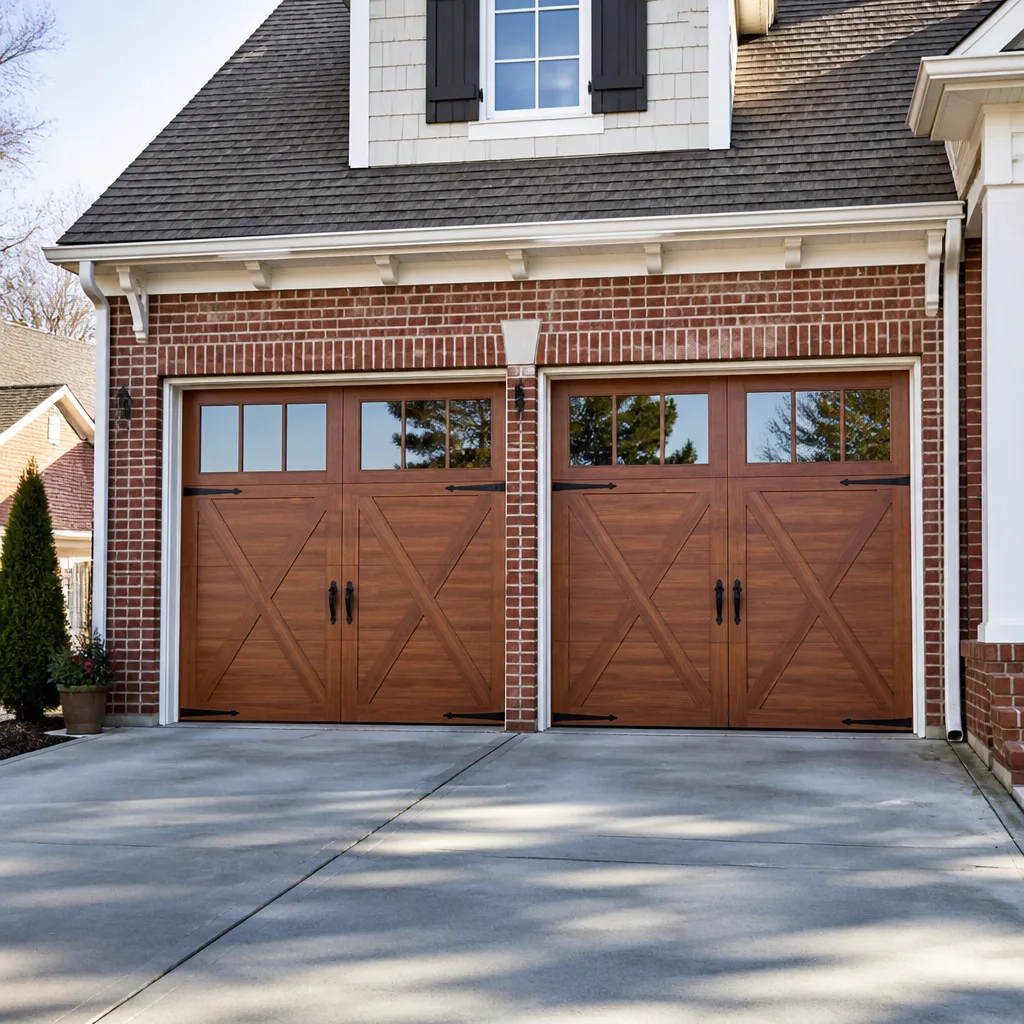 Carriage house
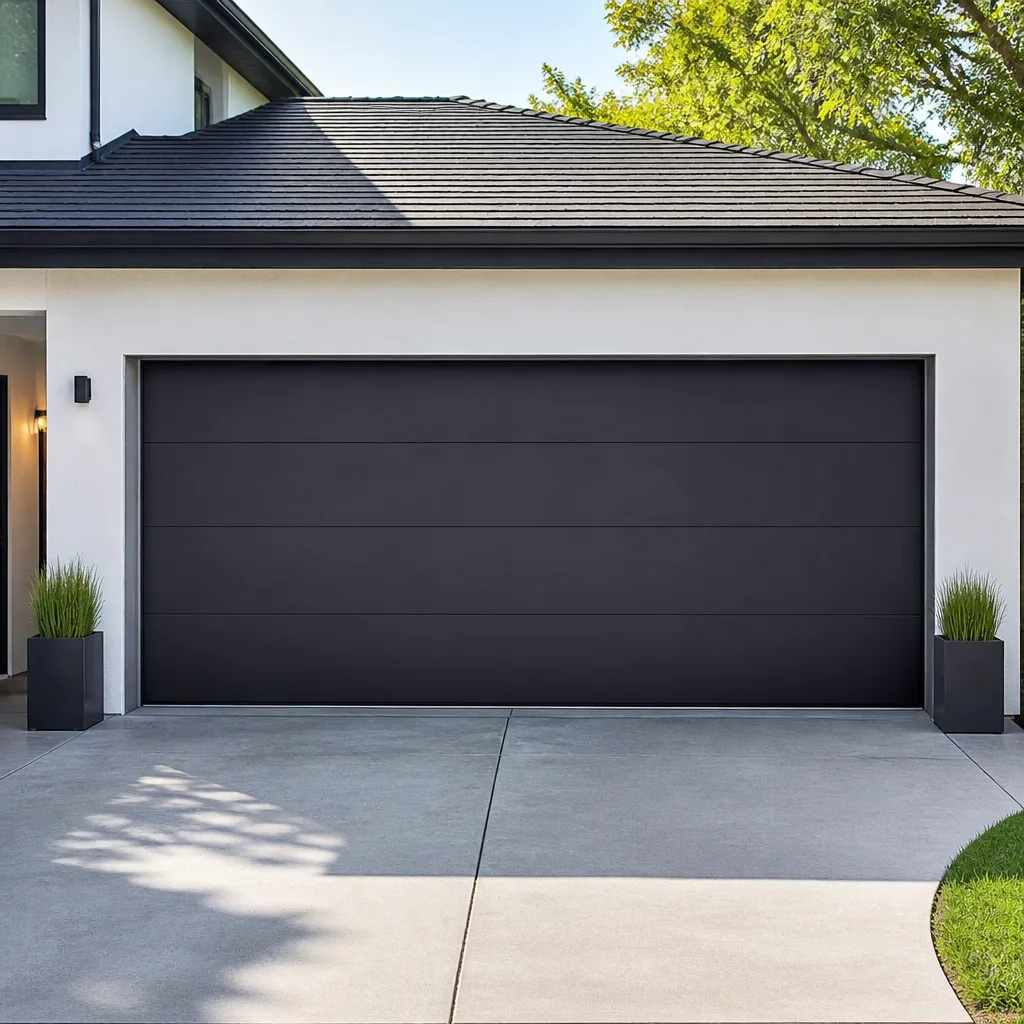 Modern flush
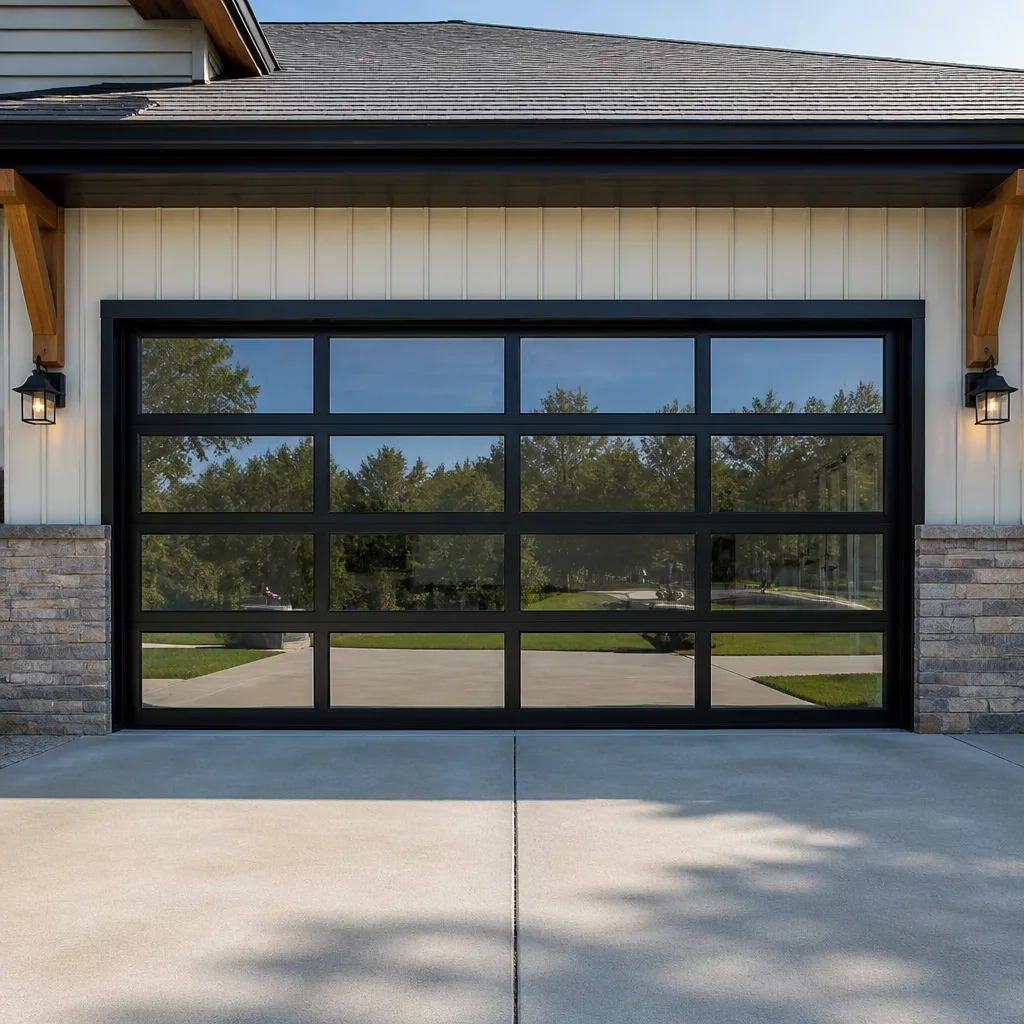 Full-view glass
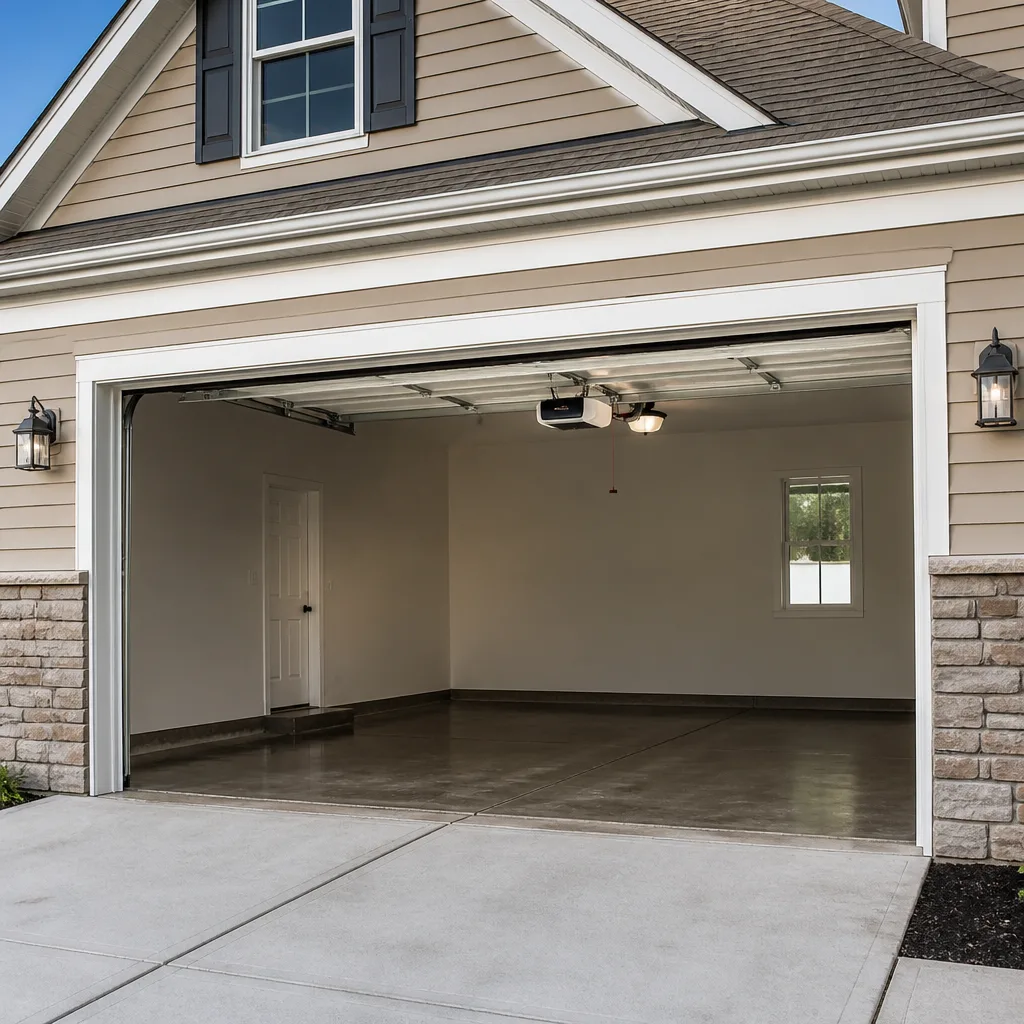 LiftMaster openers
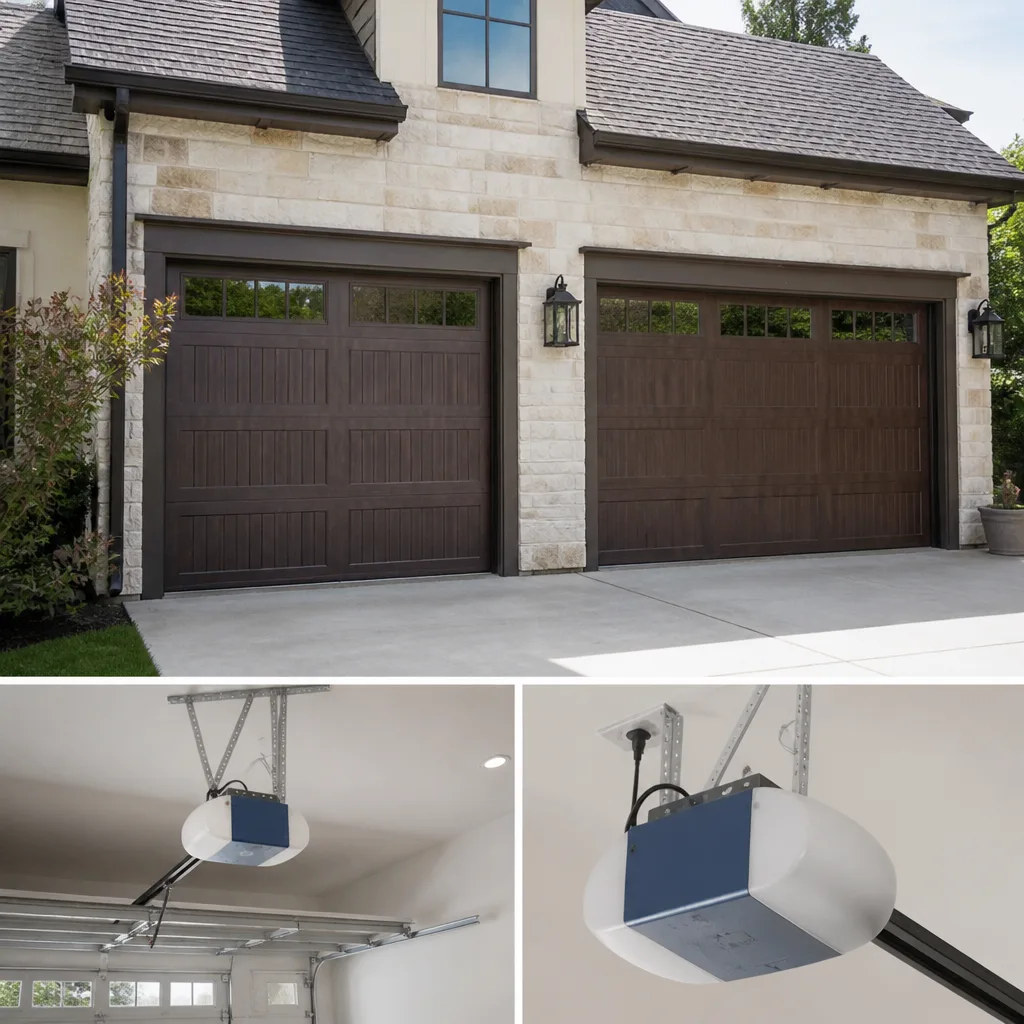 Chamberlain openers
Full 25-point door and opener safety check with every visit - springs, cables, rollers, tracks, and your LiftMaster or Chamberlain opener included
You get a price before we start. It does not change when the pro arrives.
Get your free estimateGarage Door Repair Maintenance Schedule: What to Do and When
Lubricating your garage door springs every six months sounds responsible. But if you’re using WD-40, you’re accelerating their corrosion, not preventing it. And that’s the problem with most maintenance advice: it treats every part of your door as if it wears at the same rate. It doesn’t. A torsion spring counts cycles. A nylon roller ages differently from a steel one. A bottom seal in Levittown spends winters dealing with freeze-thaw that a seal in a warmer climate never sees. This guide replaces the vague “oil it twice a year” advice with a task-and-trigger schedule tied to how the parts on your door actually fail. You’ll learn which parts are on a calendar and which are on a counter, the correct lubricant for each component, a 90-second inspection you can run every month, and what a real professional tune-up should include.
Quick Answer
There is no single maintenance schedule for a garage door. Each component wears on its own clock: springs on cycle count, rollers and cables on inspection-based replacement, weather seal on seasonal damage, and the opener on use and age. The practical approach is a monthly 90-second visual and listening check, a light lubrication routine two to four times a year with the right products for each part, and a professional tune-up in the fall before freeze-thaw season stresses the door in Levittown. Springs and cables are never a homeowner task. Those repairs belong to a trained technician.
Styles & brands we work with
- Raised-panel steel
- Carriage house
- Modern flush
- Full-view glass
- LiftMaster openers
- Chamberlain openers
Table of Contents
- Why a Calendar Schedule Fails Your Garage Door
- Component-Specific Service Intervals: What Wears and When
- The Right Lubricant for Each Part (and What Ruins Springs)
- The 90-Second Monthly Self-Inspection
- Pre-Winter Prep for Levittown: Freeze-Thaw, Seals, and Tracks
- What a Professional Tune-Up Should Include
- Opener Care by Brand: LiftMaster, Craftsman, and More
- When to Call a Professional
Why a Calendar Schedule Fails Your Garage Door
The standard advice says to service your garage door every six months, usually in spring and fall. It’s tidy. It’s easy to remember. It’s also wrong for most of the parts on your door, because a garage door isn’t one machine. It’s a system of parts that fail for completely different reasons.
A torsion spring doesn’t know what month it is. It knows how many times it’s been cycled: up and down, up and down. Springs are typically rated for a set number of cycles, and a household that opens the door four times a day wears out a spring far faster than a household that opens it once. Two doors on the same Levittown street can be the same age and have spring lifespans years apart, purely because of daily use.
Rollers are different again. They fail from wear and material fatigue, and nylon rollers behave nothing like steel ones. Weather seals fail from exposure, and exposure in Nassau County means summer heat, road grit, and a winter of freeze-thaw cycles that stiffen and crack rubber. Your opener motor and drive system fail from use count, age of the logic board, and the condition of the parts it’s pushing.
What this means practically: the six-month calendar is a reasonable reminder to do something, but the real schedule is event-driven and component-specific. You check parts on a rhythm, you replace them on a trigger, and you only put the calendar-driven items (lubrication, seasonal seal checks) on the calendar. Here’s the framework.
Component-Specific Service Intervals: What Wears and When
Here’s how each major component of your garage door ages, what triggers replacement, and whether it’s a homeowner task or a technician job. A useful first principle: if a part holds tension or supports the door’s weight, don’t touch it yourself.
- Torsion springs: Rated by cycle count, not calendar. Expect replacement on a cycle trigger: the door feels noticeably heavier to lift, the opener struggles, the door reverses or stops mid-travel, or you find a clean gap in the coil. Replacement is a technician job, full stop.
- Extension springs: Also cycle-rated, and they typically need a safety cable if they don’t already have one. Same rules apply: technician job.
- Cables: Inspect monthly by eye: fraying, kinks, or slack. Cables carry tension and can snap violently. They’re inspected by you, replaced by a professional.
- Rollers: Nylon rollers generally outlast steel rollers and run quieter. Listen for squealing or grinding, feel for flat spots, and check for wobble in the roller stem. Rollers are a maintenance item a technician replaces as a set.
- Hinges and brackets: Lubricate the hinge pivot points as part of your lubrication routine. Look for cracks or looseness during your monthly check.
- Bottom seal and weather stripping: Inspect each season. Replace when it’s cracked, stiff, torn, or no longer touching the floor evenly.
- Opener drive system: Belt, chain, or screw drive each has its own maintenance needs. The belt or chain should be checked for tension and wear during a tune-up.
- Opener logic board and safety sensors: Test the safety reverse monthly. Sensors should be aligned, clean, and free of cobwebs.
One local note: doors in Levittown tend to see heavy daily cycling because so many homes use the garage as the main entry. That pushes spring and roller wear toward the faster end of the range. If your door goes up and down ten times a day, your real schedule is compressed compared to a door that opens twice.
The Right Lubricant for Each Part (and What Ruins Springs)
This is where good intentions do damage. WD-40 is a penetrating oil and solvent, not a lubricant. On springs, it strips away the protective coating and leaves bare metal to collect grit and moisture. Over a Nassau County winter, that’s a shortcut to corrosion and a shorter spring life. Using it on springs every six months, thinking you’re being diligent, can actually wear them faster.
Different parts need different products. Here’s the correct pairing:
- Springs: A lithium-based or garage-door-specific spray lubricant, applied sparingly. Never WD-40, never a wet oil that attracts dirt.
- Roller bearings and stems: A lithium-based spray or a few drops of light machine oil at the bearing. This quiets squeaks and keeps the rollers spinning freely.
- Hinge pivots: A lithium-based spray at each pivot point. Wipe away any excess so grit doesn’t stick.
- Tracks: Nothing. Tracks are not lubricated. A lubricated track collects dust and grit into a paste that drags the rollers. Clean them with a damp cloth and leave them dry.
- Weather seal: A silicone-based spray or a light wipe of silicone to keep rubber supple. Silicone repels water and doesn’t degrade rubber the way petroleum products can.
- Opener rail and drive: Follow the opener maker’s guidance: belt drives typically need no lubrication, and chain drives often take a specific chain lubricant, not a general spray. Check your manual before you spray anything here.
Apply lubricant two to four times a year, and after any stretch of very dry or very wet weather. A light coat goes further than a heavy one. Excess lubricant just collects dust.
One caution before you start: never lubricate or touch a torsion spring that’s under tension, and never reach into the spring, cable, or drum assemblies. Springs and cables store enormous energy. Keep your hands clear and let a trained professional handle anything that holds tension. If you’re not sure whether a part is safe to touch, it isn’t.
The 90-Second Monthly Self-Inspection
Most garage door emergencies announce themselves weeks in advance. A monthly check that takes about a minute and a half catches the vast majority of developing failures before they strand you. The method is simple: listen, look, feel.
- Listen. Open and close the door and pay attention to the sound. Squealing or grinding points to rollers or hinges. A rattling or banging suggests loose hardware. A groaning opener or a motor that labors points to a balance or spring issue.
- Look at the springs. From a safe distance, check the torsion spring above the door or the extension springs along the sides. A break usually shows as a clean gap in the coil. Don’t touch. If you see a gap, the door needs a technician, and you should stop using the door.
- Look at the cables. Check the cables along the sides for fraying, kinks, or slack. A frayed cable is a warning, not a “wait and see.”
- Look at the rollers. Are any rollers wobbling, flat, or missing? Do they look worn or cracked?
- Feel the door’s balance. With the door fully closed and the opener disconnected from the door (per your opener’s manual), lift the door about halfway and let go. A properly balanced door stays put. If it drops or rises on its own, the balance is off.
- Test the safety reverse. Place a small object in the door’s path and close it. The door should reverse on contact. Also test the photo-eye sensors by blocking them mid-close. If either test fails, stop using the opener and get it looked at.
- Check the bottom seal. Look for daylight or a visible gap under the closed door. Feel the seal for stiffness or cracks.
If you catch a developing problem here, you can usually book a repair instead of an emergency call. That’s the whole point of the 90-second check. It converts a breakdown into scheduled maintenance.
Pre-Winter Prep for Levittown: Freeze-Thaw, Seals, and Tracks
Nassau County winters are hard on garage doors in specific, predictable ways, and the fall is the right time to get ahead of them. Freeze-thaw is the main event: water gets into cracks, freezes, expands, and pushes materials apart. The bottom seal and the weather stripping take the brunt of it. A stiff, cracked seal lets in cold air and water, and once water gets under the door and freezes, it can lift the door slightly off the floor and stress the opener.
Tracks are the other winter trouble spot. Cold makes metal contract, and a track that’s slightly out of alignment in October can bind a door in January. Check the tracks for dents, bends, or debris, and make sure the gap between the track and the rollers is even along the whole run. Don’t try to force a bent track straight: a technician has the right tools and knows the correct gap.
The single most important pre-winter task is testing the auto-reverse force setting. Cold stiffens the door’s moving parts, and a door that reversed easily in September can fail the safety reverse test in December. Before January, run the reverse test and, if your opener has a force adjustment, confirm it’s set so the door reverses on contact and with the sensors blocked. If the door doesn’t reverse reliably, don’t use the opener until it’s checked.
A short pre-winter checklist for a Levittown home:
- Replace a cracked or stiff bottom seal before the first hard freeze.
- Check weather stripping around the door frame for gaps and tears.
- Clear debris and grit from the tracks; confirm alignment looks even.
- Lubricate rollers, hinges, and spring coils with lithium-based spray.
- Test the safety reverse and photo-eye sensors, and check the force setting.
- Confirm the door is balanced and moves smoothly by hand.
Do this in fall, and your door handles the freeze-thaw season far better.
What a Professional Tune-Up Should Include
An annual tune-up is worth doing, but only if you know what’s actually on the list. Plenty of cheap tune-ups amount to a quick spray and a visual glance. Here’s what a real one includes, and how to confirm you got your money’s worth.
- Tighten all hardware. Every bolt, bracket, and hinge gets checked and tightened. Loose hardware is a leading cause of premature wear.
- Inspect and lubricate. Springs, rollers, and hinges get the correct lubricant for each part, and the technician checks roller condition rather than just lubricating worn rollers.
- Balance the door. The technician tests the door’s balance with the opener disconnected and confirms it stays put at the halfway point.
- Check and adjust springs and cables. The technician looks for wear, corrects tension where appropriate, and flags anything that needs replacing, including cables showing fraying.
- Inspect and align the tracks. The track gap and alignment get checked and corrected.
- Test the safety reverse and photo-eye sensors. Both tests are run, and the opener’s force setting is checked and adjusted if needed.
- Check the opener drive system. Belt or chain tension, wear, and any odd noise from the opener get evaluated.
- Write down what was done and what’s coming. A good tune-up gives you a written summary, including any parts that are close to their replacement trigger.
To confirm you got your money’s worth, ask for the written summary, and ask specifically about spring condition, roller condition, cable condition, and the result of the safety reverse test. If a tune-up doesn’t include those, it isn’t a tune-up. And if someone tells you a door needs replacing when it needs a repair, get a second opinion: an honest diagnosis should fix the existing system first.
Opener Care by Brand: LiftMaster, Craftsman, and More
Openers aren’t interchangeable in their maintenance needs, and knowing your brand matters. A LiftMaster opener and a Craftsman opener can look similar from the outside but have different drive systems, logic boards, and wear points. When something goes wrong, working on the right brand with the right parts saves time and money.
General opener care that applies across brands:
- Test the safety reverse monthly. Every opener, regardless of brand, needs a working reverse test. Block the photo eyes and confirm the door reverses.
- Keep the logic board area clean and dry. Dust and moisture around the opener head cause erratic behavior. Check it at your annual tune-up.
- Replace the battery in the remote and check the wall control. If the door responds to the wall button but not the remote, the issue is often the remote or the receiver, not the opener motor.
- Match the drive to the door. Belt drives are quiet, chain drives are sturdy and often louder, and screw drives are low-maintenance. Know what you have and its specific needs.
- Don’t ignore a labored motor. If the opener struggles, the problem is usually the door, the springs, or the balance, not the motor. Fixing the door fixes the opener.
Technicians who service LiftMaster, Craftsman, Chamberlain, Genie, Raynor, Wayne Dalton, Clopay, and Amarr arrive knowing each brand’s common failure patterns and the specific parts each system uses. That’s a real time saver when an opener or door misbehaves. We work on your brand, not ours.
Common Mistakes to Avoid
- Lubricating springs with WD-40. It strips the protective coating and leaves metal exposed to corrosion. Use a lithium-based spray instead.
- Lubricating the tracks. Tracks should stay clean and dry. Lubricant turns into grit paste and drags the rollers.
- Treating the six-month calendar as the whole schedule. Springs and rollers wear on cycles and condition, not on the calendar. Skipping the monthly check means missing the warning signs.
- Ignoring a stiff bottom seal heading into winter. In Levittown, a cracked seal lets in water that freezes and stresses the door. Replace it before the freeze.
- Adjusting springs or cables yourself. Springs and cables store enormous energy. This is the single most dangerous DIY mistake on a garage door, and it belongs to a trained technician.
- Assuming a noisy door means it needs replacing. Most noise is worn rollers or dry hinges, and a targeted repair fixes it. Don’t let anyone talk you into a replacement before a repair has been diagnosed.
- Skipping the safety reverse test. The reverse test is quick, free, and catches one of the most serious safety failures. Test it monthly and before winter.
See the difference
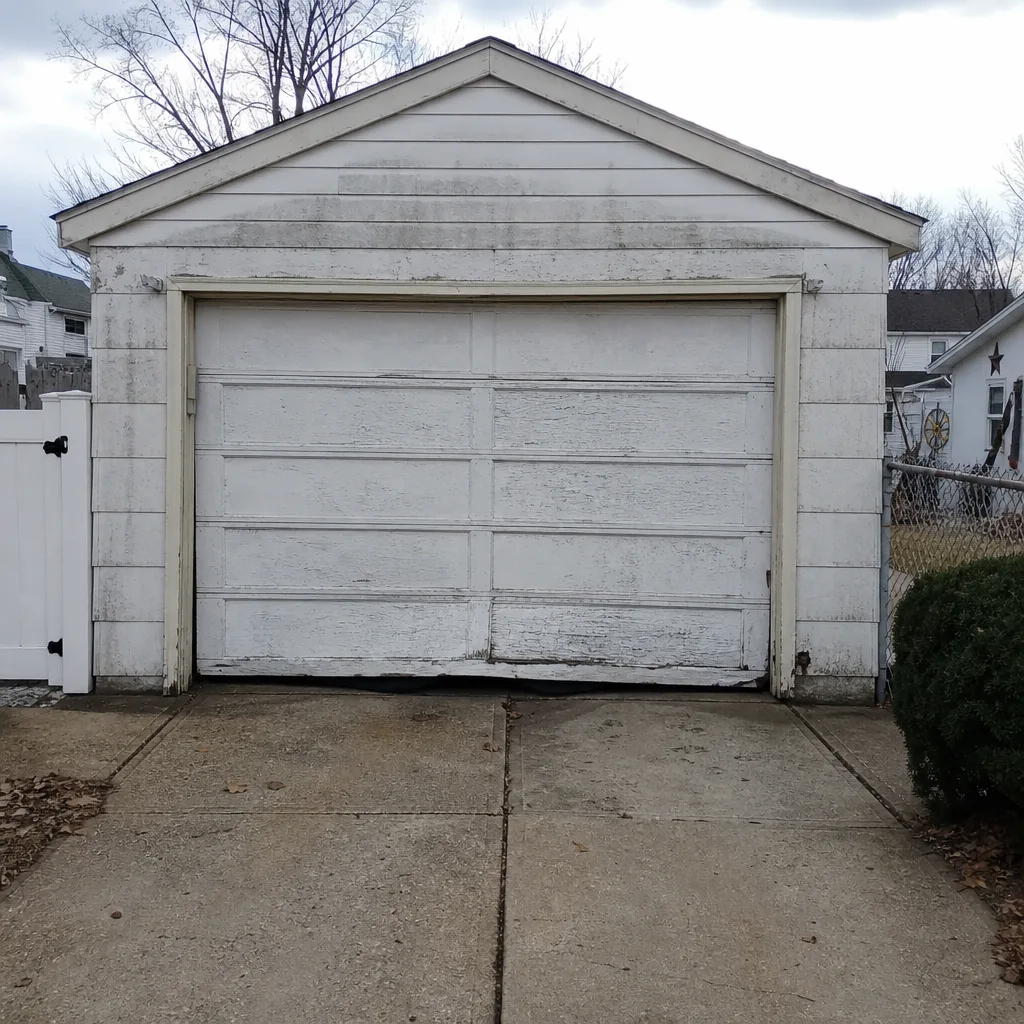 Before
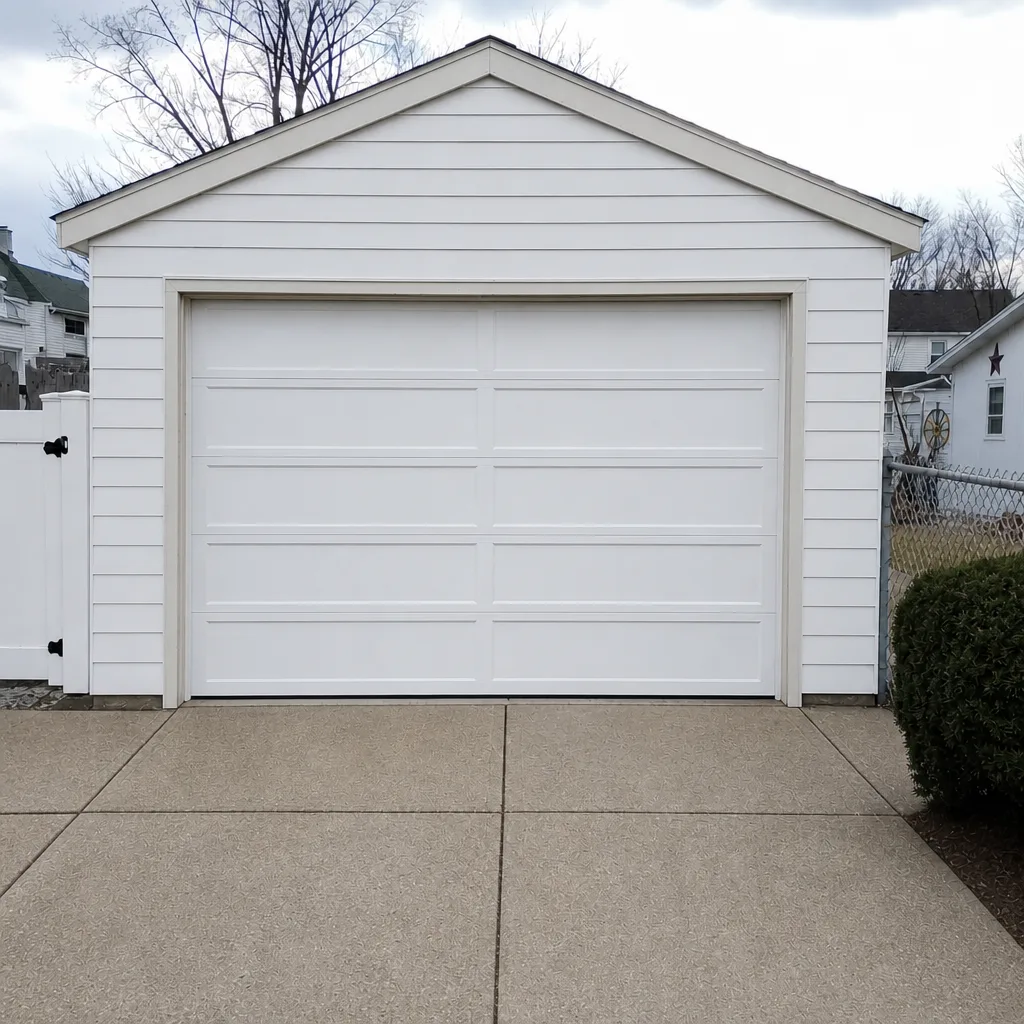 After
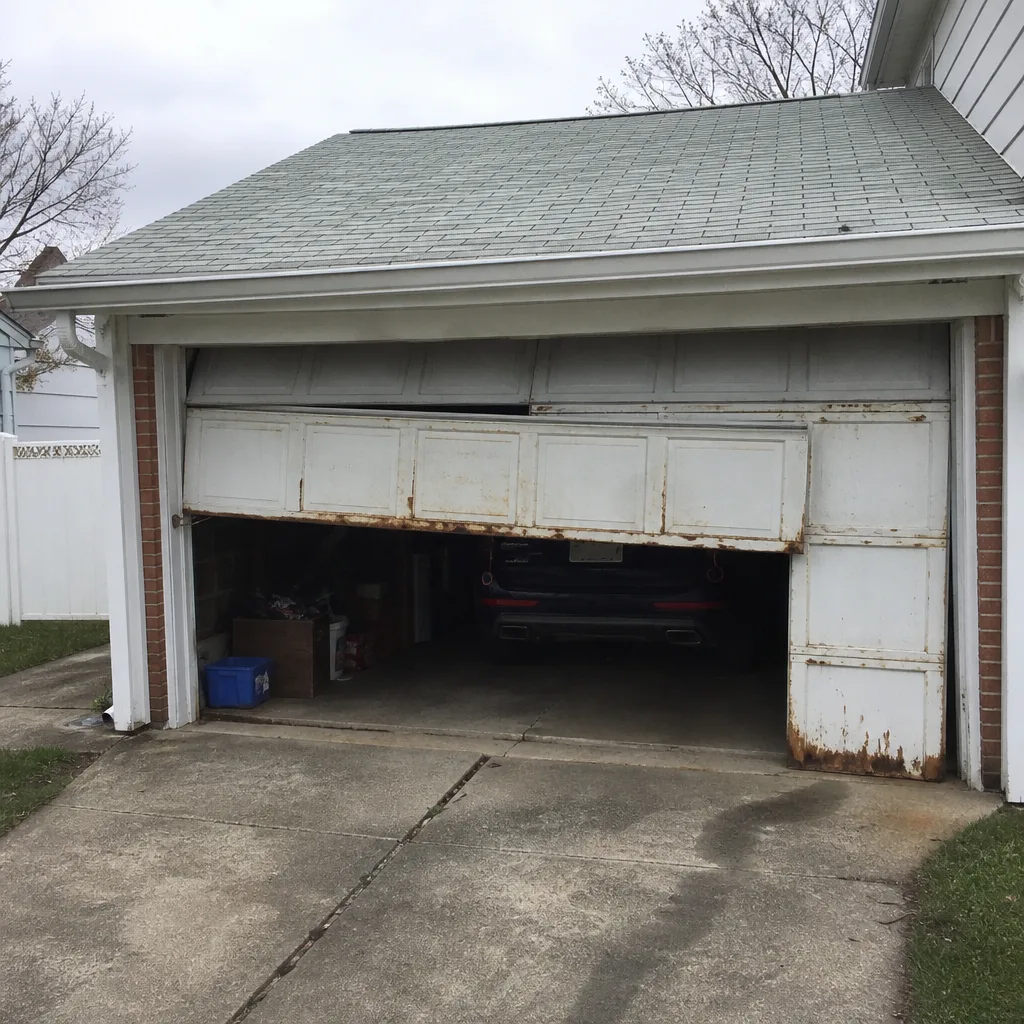 Before
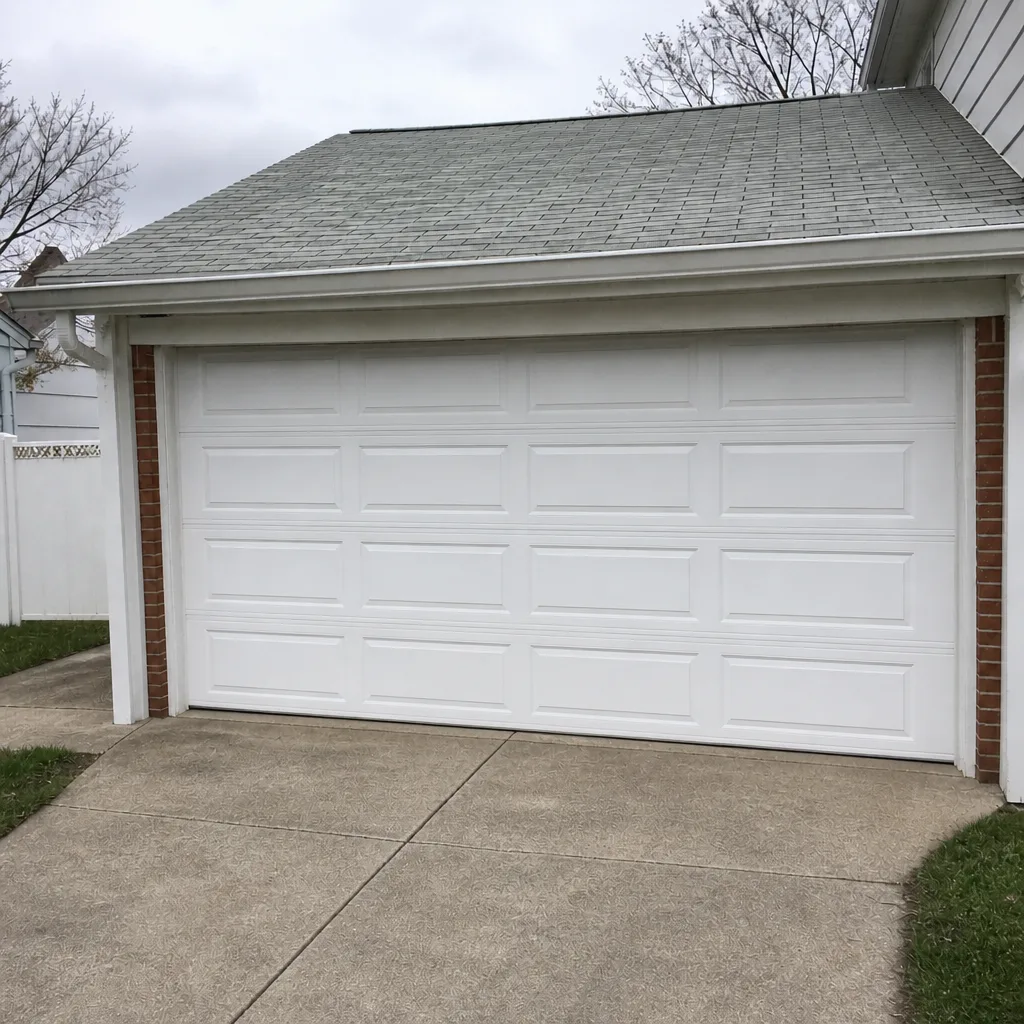 After
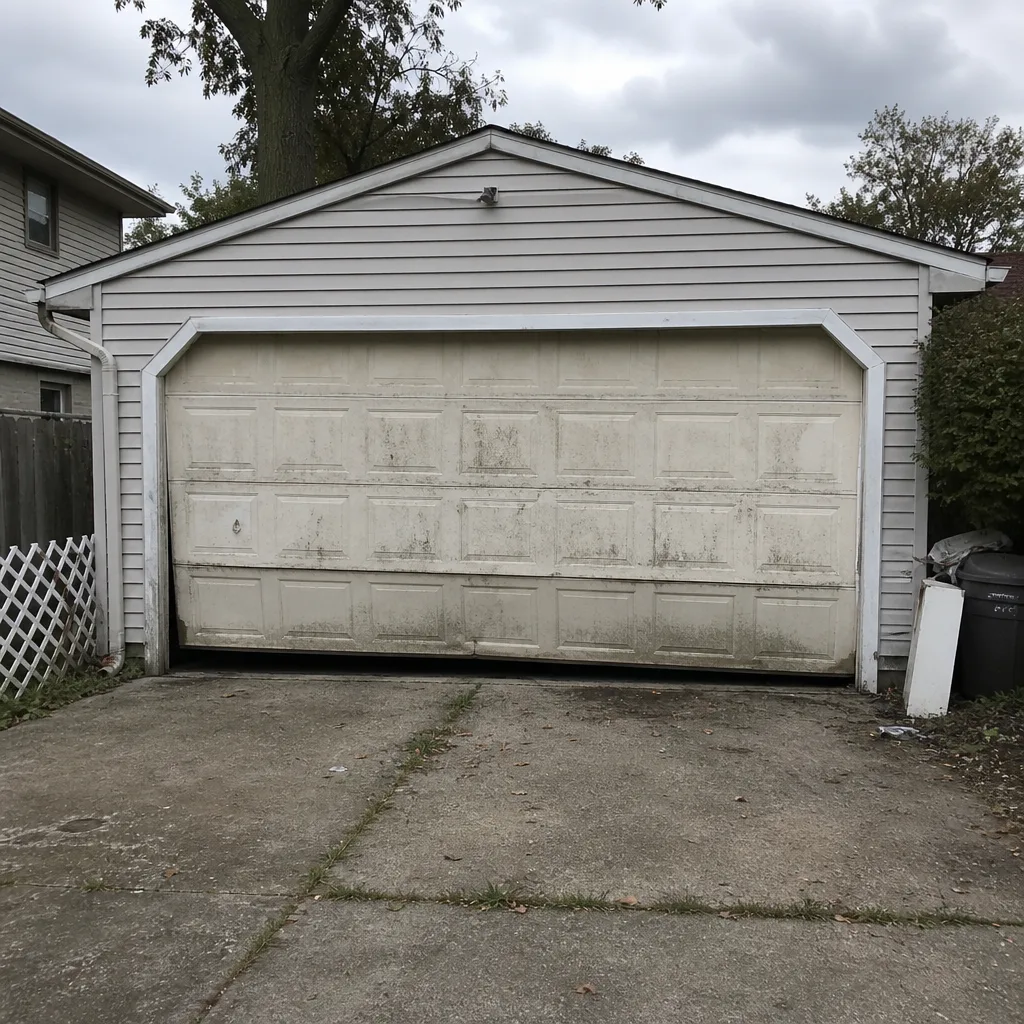 Before
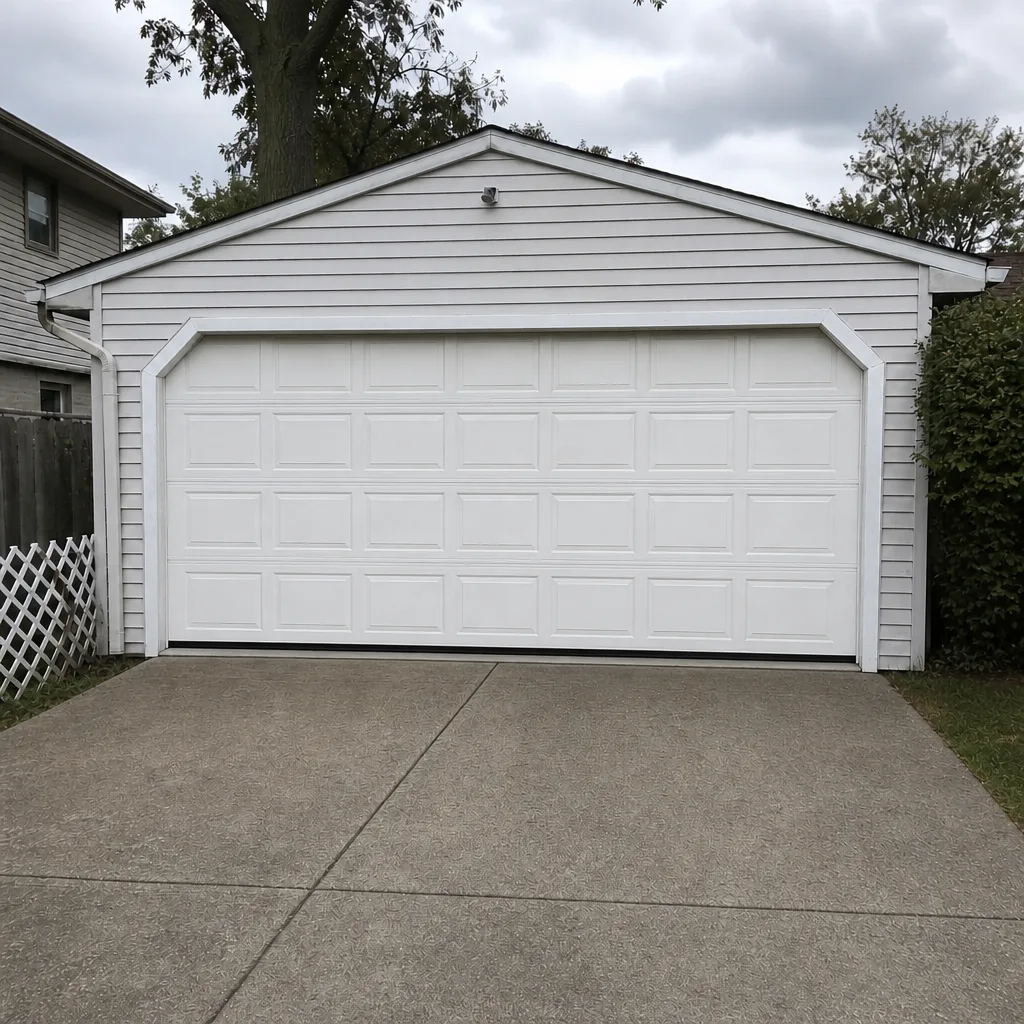 After
When to Call a Professional
Some signs mean stop using the door and call a technician. A visible break in a spring coil. A door that drops or flies up when you let go of it. A snapped or frayed cable. A door that’s come off one track. A door that won’t open or close. A door that reverses on its own. An opener motor that labors or smells hot. Any of these is a real problem, and the safety of the door depends on getting it right. Springs and cables especially should never be a homeowner repair: they hold stored energy and can cause serious injury.
For the routine work – a tune-up, a seal replacement, a roller set, a balance adjustment – a professional visit once a year keeps the whole system honest. Levittown Garage Door Repair Experts offers free estimates in Levittown – call (877) 770-2029. Our technicians have up to 11 years of experience and work on all eight major brands, so you don’t have to switch systems to get expert service.
Frequently Asked Questions
Plan on a monthly 90-second self-inspection, lubrication two to four times a year with the right products, and one professional tune-up each fall before freeze-thaw season. Springs and rollers wear on cycles and condition rather than the calendar, so the monthly check matters more than a fixed six-month service date. If your door cycles heavily, the schedule compresses. Call (877) 770-2029 for a tune-up and a free estimate on any repair.
You can apply a light coat of lithium-based spray to the spring coils, but never touch a spring that’s under tension or reach into the spring, cable, or drum assemblies. Never use WD-40 on springs: it strips the protective coating and speeds corrosion. If you’re unsure whether a part is safe to touch, call a trained technician. Our spring repair is a dedicated service for a reason.
Nylon rollers generally last longer and run quieter than steel rollers. Steel rollers are durable but louder and can rust in humid or wet conditions. In both cases, replacement is triggered by wear, noise, flat spots, or a wobbly stem, not by a fixed calendar date. Have a technician replace them as a set when they show wear.
A real tune-up includes tightening all hardware, lubricating the right parts with the right products, balancing the door, checking springs and cables, inspecting and aligning tracks, testing the safety reverse and photo-eye sensors, and checking the opener’s drive system. You should get a written summary of what was done and what’s coming due. If a tune-up doesn’t include those items, it isn’t a tune-up.
Noise is usually worn rollers, dry hinges, or a loose bracket, and a targeted repair fixes it. A door that’s noisy but balanced and operating smoothly does not need replacing. Have a technician diagnose it first. We repair first and only discuss replacement when a repair isn’t the right answer. Call (877) 770-2029 for a free estimate.
We’re closed on Saturdays, but call (877) 770-2029 and we’ll book you for Sunday. If your door won’t close and leaves the garage open, move your car out and secure the garage door manually (per your opener’s manual) until we get there. Don’t try to force the door or work on the springs yourself.
The Bottom Line
The right maintenance schedule for a garage door isn’t a calendar. It’s a set of triggers. Check your door monthly with the listen-look-feel routine. Lubricate deliberately, with the correct product for each part, and never put WD-40 on a spring. Inspect the seal and tracks before winter in Levittown, and test the safety reverse before the cold sets in. Springs and cables are always a technician job. Book one professional tune-up each fall and ask for a written summary. Do those things and you’ll spend far less time dealing with emergencies and far more time with a door that simply works.
Written by the team at Levittown Garage Door Repair Experts.