Last updated November 20, 2026
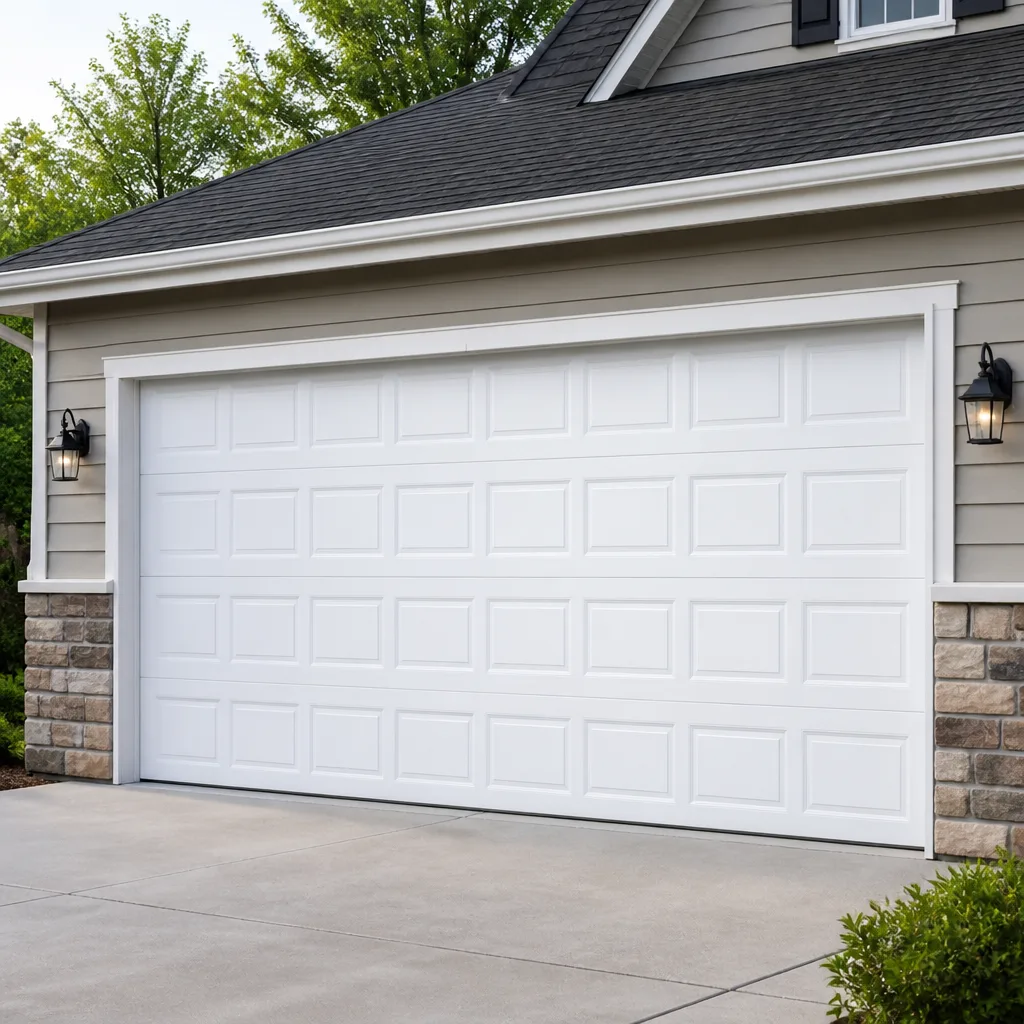 Raised-panel steel
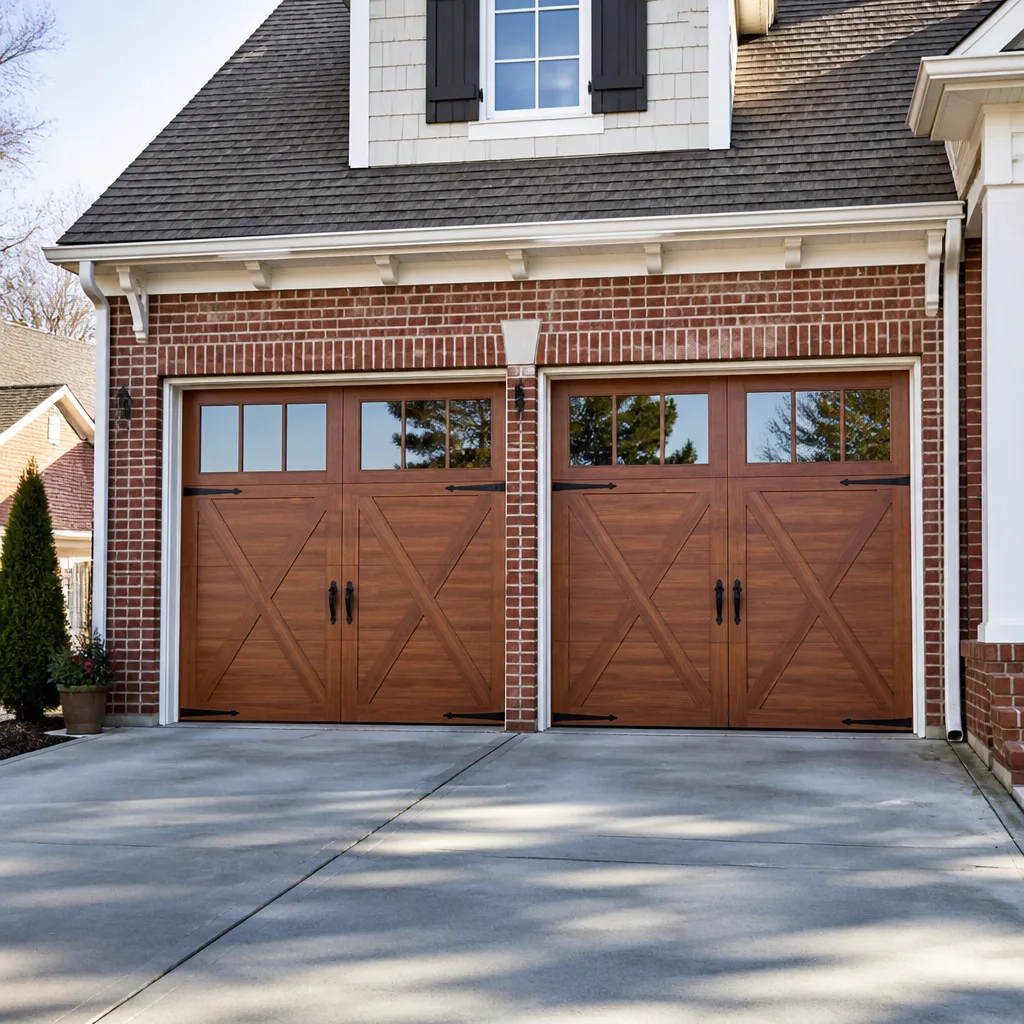 Carriage house
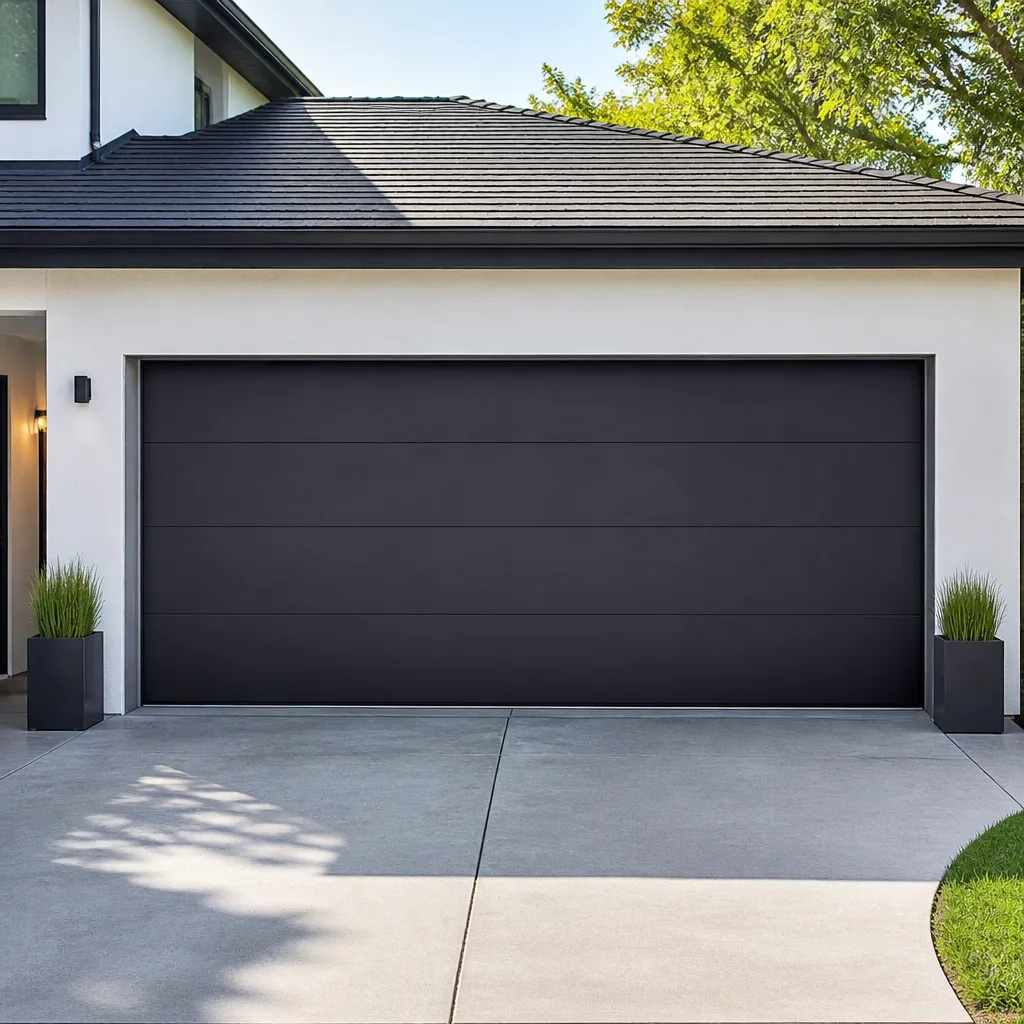 Modern flush
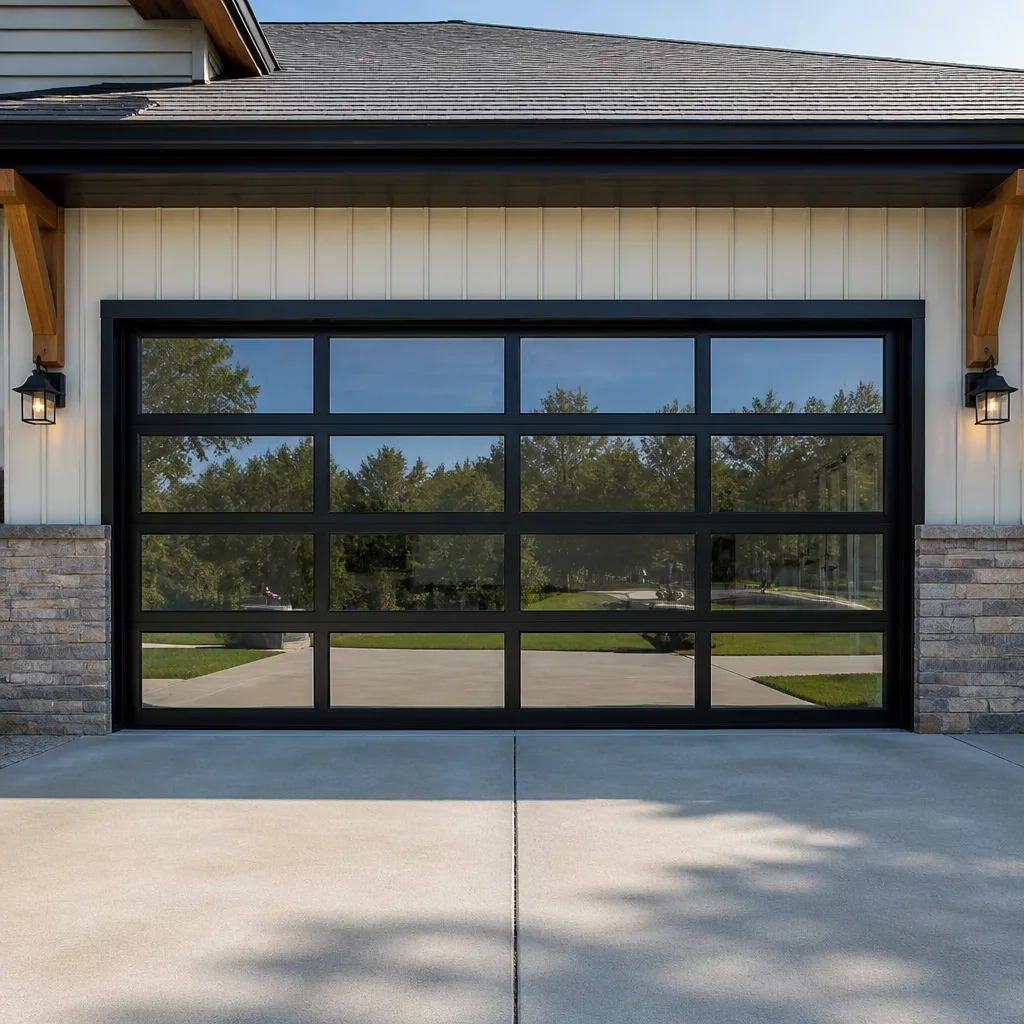 Full-view glass
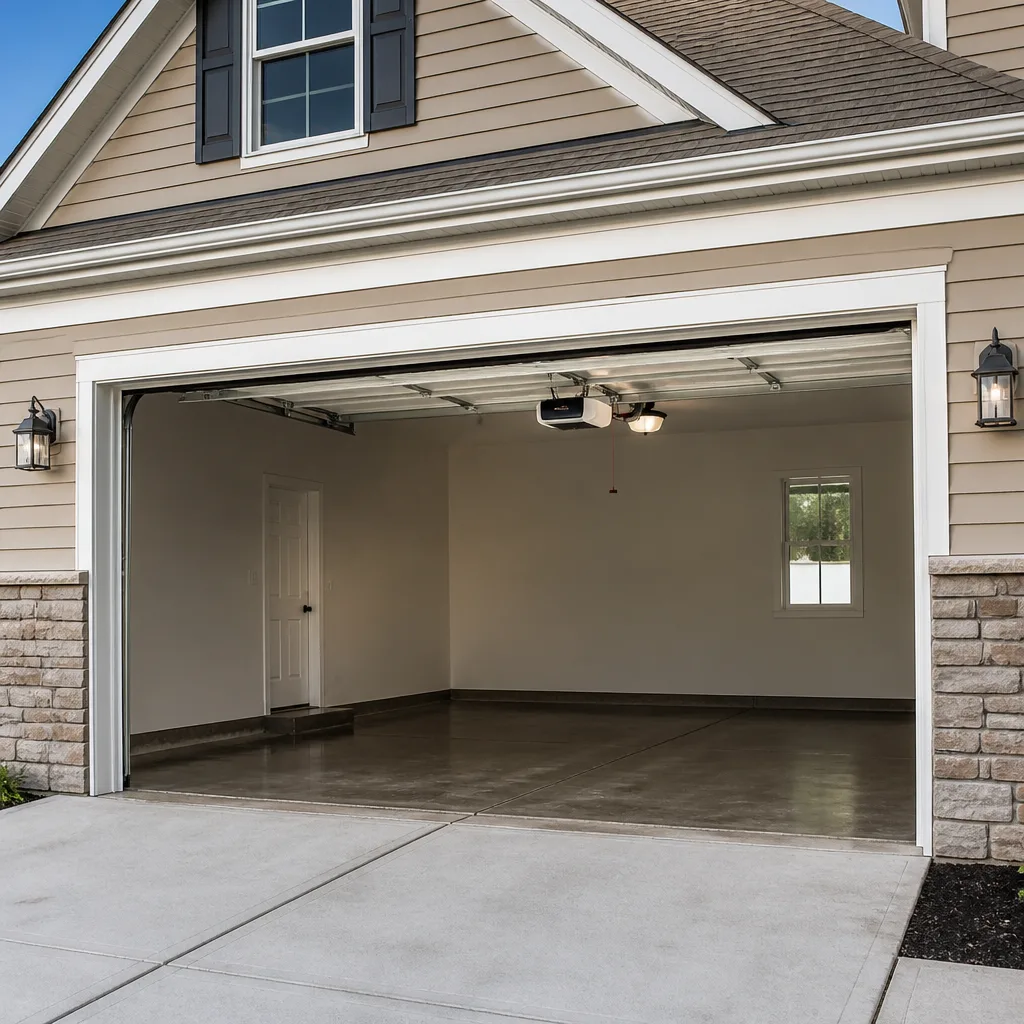 LiftMaster openers
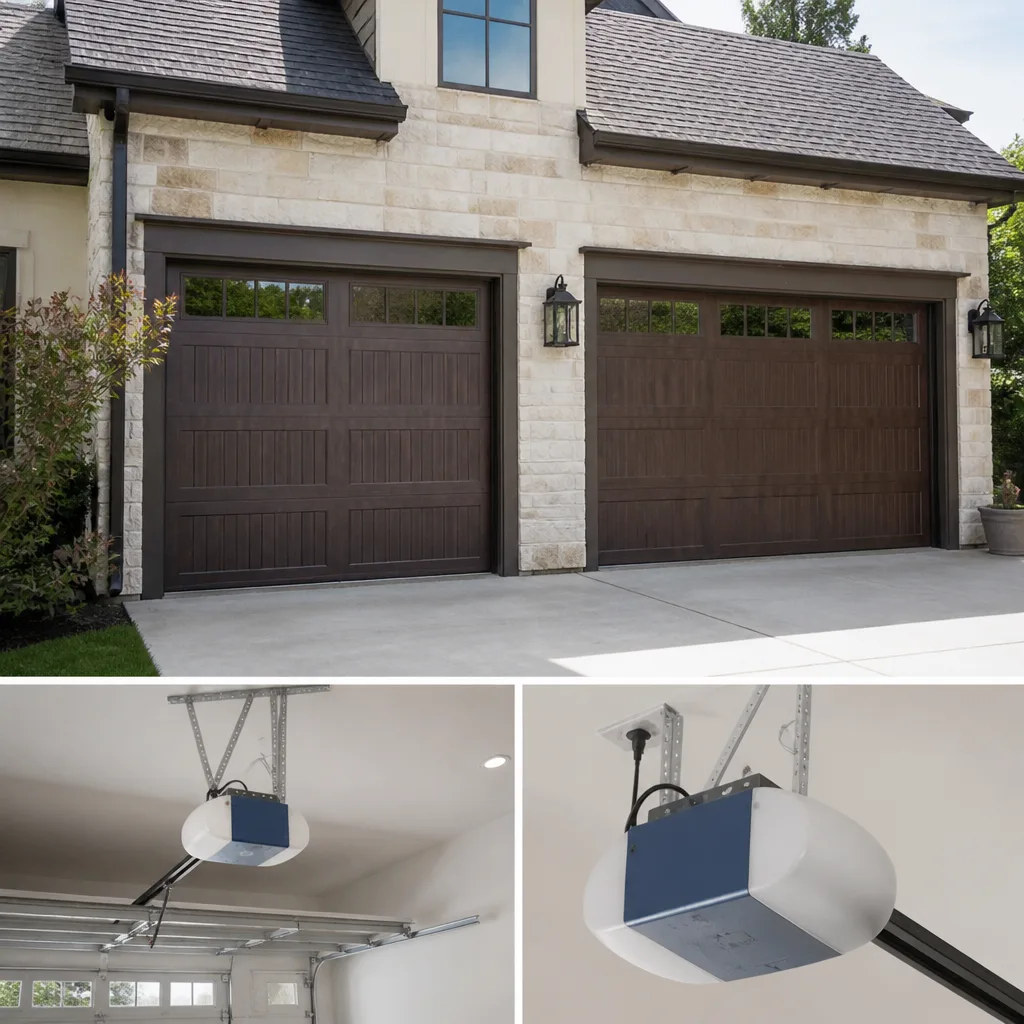 Chamberlain openers
Full 25-point door and opener safety check with every visit - springs, cables, rollers, tracks, and your LiftMaster or Chamberlain opener included
You get a price before we start. It does not change when the pro arrives.
Get your free estimateDIY vs Professional Garage Door: The Levittown Homeowner’s Decision Guide
Most homeowners treat the DIY-versus-pro question as a test of confidence. Walk into any Levittown garage, look at the door, and ask yourself whether you could fix it. That’s the wrong test. The real question is which specific tasks carry injury risk or warranty consequences severe enough to change the math, regardless of how handy you are. A wound torsion spring holds roughly 100 foot-pounds of torque, and that single fact redraws the line better than any skill self-assessment ever will. This guide breaks the whole garage door down task by task, tells you which jobs are genuinely safe to take on, which manufacturer warranties get voided by owner repairs, and how Levittown’s older housing stock makes some “standard” jobs harder than the YouTube video suggests.
Quick Answer
Torsion and extension spring work, cable replacement, and any repair that requires loosening the door’s lifting mechanism should always go to a trained professional because of stored energy and injury risk. Panel swaps, roller replacement, weather seal, lubrication, and opener remote or battery work are reasonable DIY jobs if the door is fully closed and the opener is unplugged. Anything involving electrical wiring, track realignment under tension, or a door that has come off its tracks is a professional call.
Styles & brands we work with
- Raised-panel steel
- Carriage house
- Modern flush
- Full-view glass
- LiftMaster openers
- Chamberlain openers
Table of Contents
- Why the Torsion Spring Redraws the Line
- The Task-by-Task Breakdown
- What DIY Work Does to Your Warranty
- The Real Cost Comparison (Tools Included)
- Why Levittown Houses Complicate Standard Jobs
- The Pre-Call Inspection That Speeds Up Your Quote
- Openers, Remotes, and Logic Boards
- When to Call a Professional
Why the Torsion Spring Redraws the Line
The torsion spring is the component that makes a 200-pound door feel like a 10-pound one. It’s mounted on a shaft above the door, wound tight during installation, and it stores the energy needed to counterbalance the door’s weight through its entire travel. A properly wound spring holds roughly 100 foot-pounds of torque. When it breaks, that energy releases in an instant.
This is the mechanical reason one task on any garage door list is always a professional job, no matter who you are. Winding a torsion spring requires two winding bars, a specific sequence of quarter-turns, and the discipline to keep your body out of the release path. There’s no version of that job where a confident homeowner with a socket set should be standing on a ladder. Extension springs, the older style found on many Levittown doors, carry the same hazard in a different configuration.
Everything else on a garage door operates at a much lower energy level. A roller swap, a bottom seal replacement, a remote battery change: none of these can hurt you if the door is closed and the opener is unplugged. We’ve seen homeowners do all three successfully with a few basic tools and an hour of patience. The spring is the dividing line. Above it, you’re working on a door. Below it, you’re working around stored energy that doesn’t negotiate.
If your door has a snapped spring, don’t try to lift it manually to get your car out. A door with a failed spring is carrying its full weight on the opener and the cables, and pulling it up by hand can bring the whole assembly down. Call for garage door spring repair instead; it’s the one call where waiting is safer than improvising.
The Task-by-Task Breakdown
Here’s the honest split. Three columns: safe to DIY, doable with basic tools and patience, and professional only. Read the middle column carefully, because that’s where most homeowners get in over their heads.
Safe DIY jobs
- Remote and keypad programming. Follow the opener manual. Ten minutes, no tools.
- Battery replacement. Remotes, keypads, and wall consoles all take standard batteries.
- Lubrication. A lithium-based or silicone spray on hinges, rollers, and the torsion shaft (never on the spring coils themselves).
- Visual inspection. Look at cables for fraying, springs for gaps, and rollers for flat spots. This is the single highest-value thing a homeowner can do.
- Weather seal replacement. The bottom rubber slides out and back in. One of the cheapest fixes on the door.
Doable with basic tools and patience
- Roller replacement. Requires unplugging the opener, clamping the door closed, and swapping one roller at a time. Nylon rollers are a clear upgrade over steel.
- Hinge replacement. Same process, but you must replace one hinge at a time and never remove two adjacent hinges with the door open.
- Panel swap on a sectional door. Only if the panel is a direct factory match and the track isn’t bent. Cosmetic panel swaps are manageable; structural ones aren’t.
- Sensor alignment. The two photo-eye sensors at the base of the track need a clear line of sight. Realigning them is a screwdriver job.
Professional only
- Torsion spring replacement, adjustment, or winding. Non-negotiable. This is the highest-risk task in the trade.
- Extension spring replacement. Same hazard, different mechanism. Both require the door to be in a specific position with safety cables in place.
- Cable replacement. Cables carry the door’s weight in tension. A snapped cable can whip with enough force to cause serious injury.
- Track realignment after a door has come off its tracks. The door must be brought back to a safe position before the track is addressed.
- Opener electrical wiring, capacitor replacement, or logic board work. Line voltage is present. This stays with a trained technician.
If you’re unsure which column a job falls into, the safe answer is the professional one. That’s what our garage door repair service exists for, and it’s cheaper than an emergency room visit.
What DIY Work Does to Your Warranty
This is the part most DIY guides skip entirely, and it’s the part that actually changes the math for a lot of homeowners. Major manufacturers write specific language into their warranty terms about owner-performed repairs, and it varies by brand and component.
The general pattern across brands installed widely in Levittown homes:
- Cosmetic and wear items (seals, rollers, hinges, remote batteries) are typically not covered by any warranty anyway, so replacing them yourself costs you nothing in coverage.
- Springs are often excluded from owner warranty regardless of who touches them, because they’re treated as wear components. But if a homeowner installs a spring incorrectly and the failure damages the door, the door warranty is at risk.
- Openers are the most warranty-sensitive component. Most opener manufacturers specify that installation and repair must be performed by a qualified technician to keep the warranty intact. A homeowner who swaps a logic board on a LiftMaster or a Craftsman opener can find the remaining warranty voided on the failed part.
- Structural door components (panels, tracks, torsion shaft) are usually covered for a longer term but require professional installation and adjustment to maintain coverage. A Wayne Dalton panel installed by the homeowner is a warranty conversation nobody wants to have.
Before you take on any job beyond lubrication and battery swaps, read the warranty booklet that came with your door or opener. If you don’t have it, look up your model number online. Twenty minutes of reading can save you a coverage denial later. Our technicians work across LiftMaster, Chamberlain, Genie, Clopay, Amarr, Wayne Dalton, Craftsman, and Raynor systems, and the warranty language differs between them more than most homeowners expect.
The Real Cost Comparison (Tools Included)
Most DIY calculators compare the price of a replacement part to the cost of a service call. That’s a false comparison. The true math includes tools you probably don’t own, and the break-even point moves considerably.
Spring replacement: not a DIY comparison
We don’t put spring work in a cost comparison table because the risk isn’t measurable in dollars. One spring replacement typically runs in a professional range, and a matched pair costs roughly twice that because both springs get replaced together. The winding bars alone cost more than most homeowners realize, and that’s before you get to the injury risk.
Roller replacement
- DIY cost: roughly the price of a set of nylon rollers plus a socket set if you don’t own one. Most homeowners already have the socket set.
- Professional cost: a service call plus parts. Higher than DIY, but the job is done in under an hour and the door is checked while the technician is there.
- Break-even: If you already own the tools and have two hours, DIY wins on cost. If you’d need to buy a socket set and a clamp, the difference narrows.
Panel replacement
- DIY cost: the panel, plus a delivery or pickup cost for a bulky item. Panels are hard to transport without a truck.
- Professional cost: the panel plus installation, which includes measuring, aligning, and adjusting the door so the new panel travels correctly.
- Break-even: A panel swap looks simple until the new panel doesn’t align with the old track. That’s when a DIY project becomes a professional call anyway, and you’ve paid for both.
Opener replacement
- DIY cost: the opener, wiring supplies, and a Saturday you won’t get back.
- Professional cost: the opener plus installation, which includes removal of the old unit, wiring, and programming all remotes and keypads.
- Break-even: Most homeowners come out ahead on professional installation once they factor in the wiring work and the warranty protection. This is the job where DIY math fails most often.
The pattern holds: DIY is cheapest on the small, low-risk jobs. It stops being economical the moment a tool purchase, a second attempt, or a warranty loss enters the picture. For an exact number on your specific door, ask for a written estimate before deciding.
Why Levittown Houses Complicate Standard Jobs
Levittown’s housing stock is distinctive, and it changes how several “standard” garage door jobs play out. The original construction used framing that has settled and moved over decades, and many doors have been replaced or modified since. What looks like a straight swap in a video can turn into a multi-hour project on a Levittown door.
Low headroom
Many Levittown garages have limited headroom above the door. That affects how a torsion spring is mounted, which track configuration fits, and whether a standard opener will clear the ceiling. A homeowner buying a replacement opener based on a big-box label may find it doesn’t fit the actual space. Headroom is measured before the opener is ordered, not after.
Settled framing
Decades of settling can throw a garage door opening slightly out of square. That means a new panel that’s perfectly square from the factory doesn’t quite line up with the existing track. It also means track alignment issues show up on doors that were installed correctly. Adjusting for settled framing is part of what a technician checks, and it’s a step most DIY guides don’t mention.
Mix of door generations
A single Levittown block can contain original doors, 1990s replacements, and recent installations side by side. That means a homeowner asking “how do I replace my rollers” might be working on a door from any of several manufacturing eras, each with different roller sizes, hinge styles, and spring configurations. Knowing your specific door’s configuration is the first step before buying any part.
Levittown’s climate adds another wrinkle. Summer humidity and winter freeze-thaw cycles work on wood framing, metal tracks, and the seals that keep the weather out. Doors that were fine in October can develop binding or seal gaps by February. That’s a seasonal pattern, not a defect, and it’s the reason a pre-season inspection is worth the time.
If your door is struggling through a Levittown winter or binding in summer humidity, that’s usually a sign the adjustment is off, not that the door needs replacing. We diagnose and repair first. That’s the whole point of the service.
The Pre-Call Inspection That Speeds Up Your Quote
When a door stops working and you do decide to call a professional, what you do before the call determines how fast and how accurate the quote will be. A homeowner who has done a five-minute inspection gets a more precise number and often a faster visit. Here’s the sequence.
- Unplug the opener. Pull the cord, not the breaker, so you can restore power easily when the technician arrives.
- Disengage the door. Pull the red emergency release handle to separate the door from the opener. If the door is heavy when you lift it by hand, the spring is the problem. If it’s light and moves freely, the opener is the problem. This one test tells you which service you need. Do not attempt this if the door has a broken spring or is off track.
- Look at the springs. A torsion spring has a visible gap when it snaps. Extension springs often show a stretched section or a broken hook. Note what you see.
- Check the cables. Look at both sides of the door where the cables run. Fraying, kinks, or slack on one side indicates a cable issue. Don’t touch a cable that’s under tension.
- Inspect the rollers and hinges. Look for flat spots on the rollers and wear at the hinge knuckles. Note how many rollers are worn.
- Test the safety sensors. With power restored, wave an object between the two sensors at the base of the track. If the door doesn’t reverse, the sensors are misaligned or dirty.
- Note the brand and model. Every opener has a label on the back or under the light cover. Every door has a sticker on the inside of a panel in most cases. Write down what you find. If you have a LiftMaster or Craftsman opener, the model number lets us match parts before we arrive.
- Write down the symptom in plain language. “Door goes up six inches and stops” is more useful than “it’s broken.” The symptom tells us which component to look at first.
That’s the inspection. No tools that can hurt you, no springs touched, no cables moved. Just observation and a written symptom list. Have it ready when you call, and you’ll get a faster, more accurate answer.
Openers, Remotes, and Logic Boards
Openers are the most confusing DIY category, because some opener jobs are genuinely easy and others are surprisingly technical. The split comes down to whether you’re working with the opener’s logic or its power.
DIY-friendly opener work
- Remote and keypad programming. Every opener manual has a programming sequence. It’s a button-press job.
- Battery replacement in remotes, keypads, and wall consoles. Standard batteries, ten minutes.
- Force and travel adjustment. Most modern openers have adjustment screws or a digital menu for travel limits. This is safe if you follow the manual and test with the sensors in place.
- Safety sensor cleaning and alignment. The photo-eye sensors collect dust and cobwebs. Wiping them down and nudging them into alignment solves a surprising share of “door won’t close” calls.
Professional opener work
- Logic board replacement. The board controls every function. A misdiagnosed board swap is expensive and doesn’t fix the actual problem. This is a diagnostic job, not a part-swap job.
- Capacitor replacement. Capacitors store charge. This is electrical work and it needs a trained technician.
- Wiring and installation of a new opener. Line voltage, mounting, and the safety reverse system all need to be set correctly. Most opener warranties require professional installation.
- Drive belt or chain replacement. The opener has to come down or the rail has to come apart, and the tension needs to be set correctly on reassembly.
If your opener is a LiftMaster or a Craftsman and it’s doing something strange (blinking lights, reversing on its own, ignoring the remote), that’s usually a logic or sensor issue, not a motor failure. Those are the cases where garage door opener repair pays for itself in avoided misdiagnosis. If you’re not sure your opener is safe to keep using, a professional diagnosis is the right move before you buy a replacement.
Common Mistakes to Avoid
- Trying to wind a torsion spring with the wrong bars. Screwdrivers and socket extensions are not winding bars. They slip out of the winding cone under load, and the result is serious injury more often than not. This is the mistake with the highest cost, and it happens to homeowners who are otherwise very capable.
- Lifting a door with a broken spring to get the car out. The door’s full weight is on the cables and the opener. Lifting it by hand can bring the door down or snap a cable. Call for emergency service instead, and leave the door closed.
- Buying a replacement opener before measuring headroom and rail length. Levittown garages vary widely in headroom, and an opener that fits one house may not fit the next. Measure first, then buy.
- Working on the door with the opener plugged in. A remote press from a family member can start the door while your hands are in the track. Unplug the opener and pull the release handle before any hands-on work.
- Ignoring the safety sensors because the door “mostly works.” A door that closes without reversing on an obstruction is a hazard. The sensors are there for a reason, and a misaligned pair is one of the most common causes of intermittent door failure.
- Assuming a replacement is cheaper than a repair. A door that’s binding, noisy, or slow is usually a repair, not a replacement. A panel swap, a roller upgrade, and a spring tune-up solve most of what looks like a failing door.
- Buying a panel based on a photo. Panel profiles vary between manufacturers and between production years. A Clopay panel from one year may not match a Clopay panel from another. Measure the existing panel and confirm the model number before ordering.
See the difference
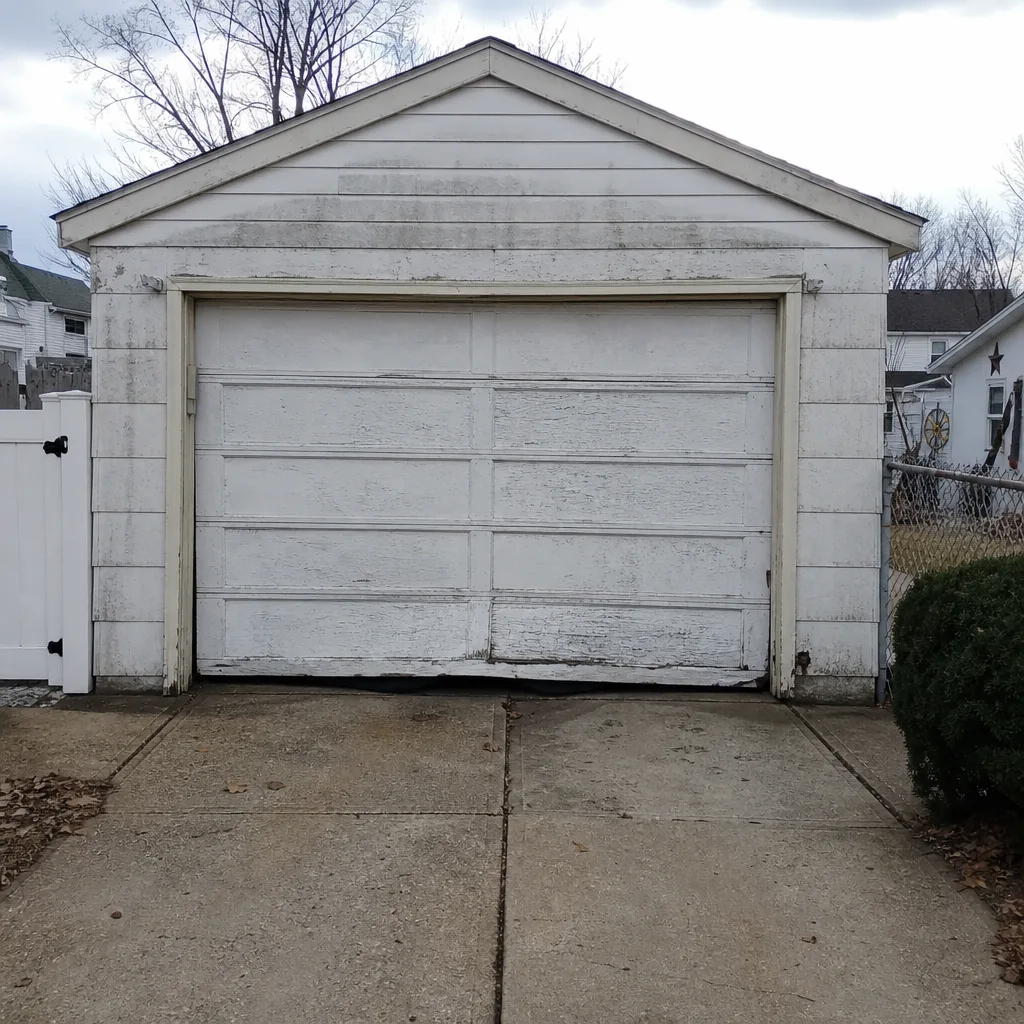 Before
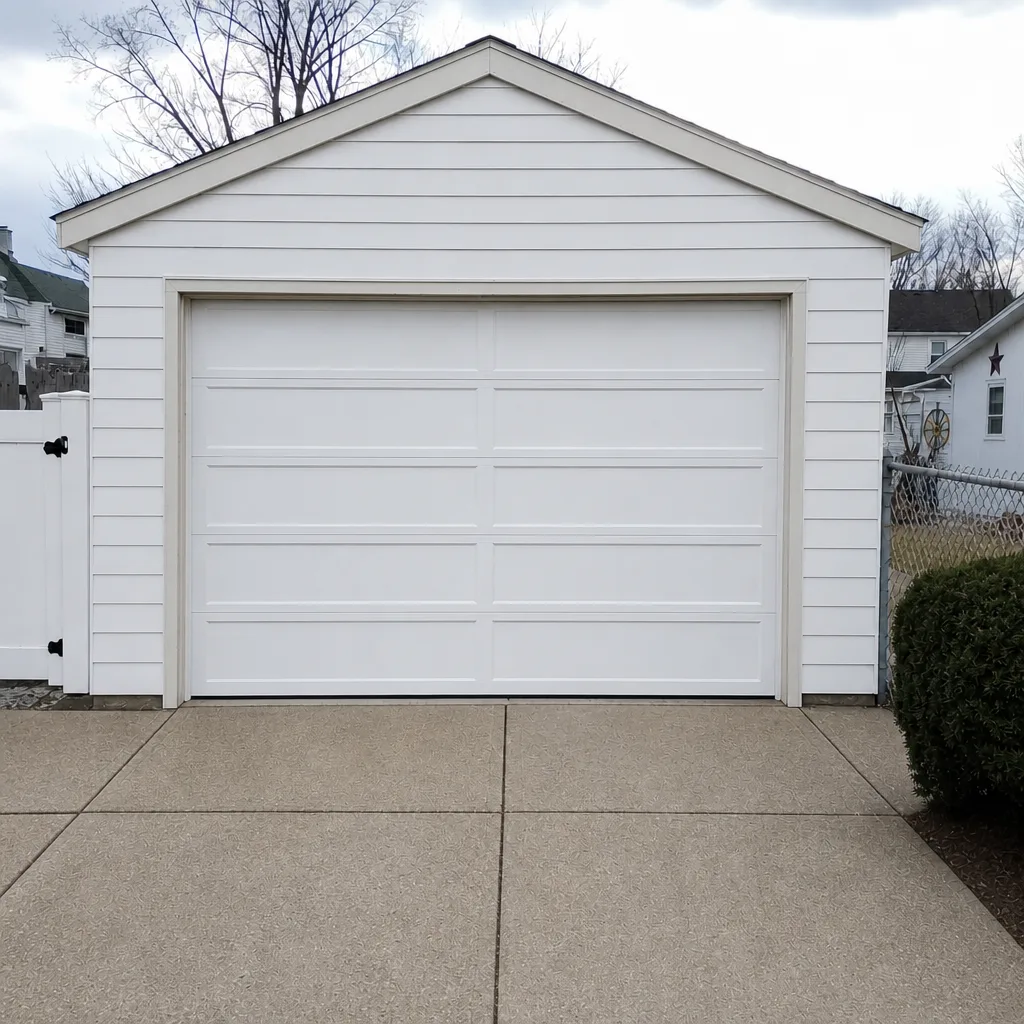 After
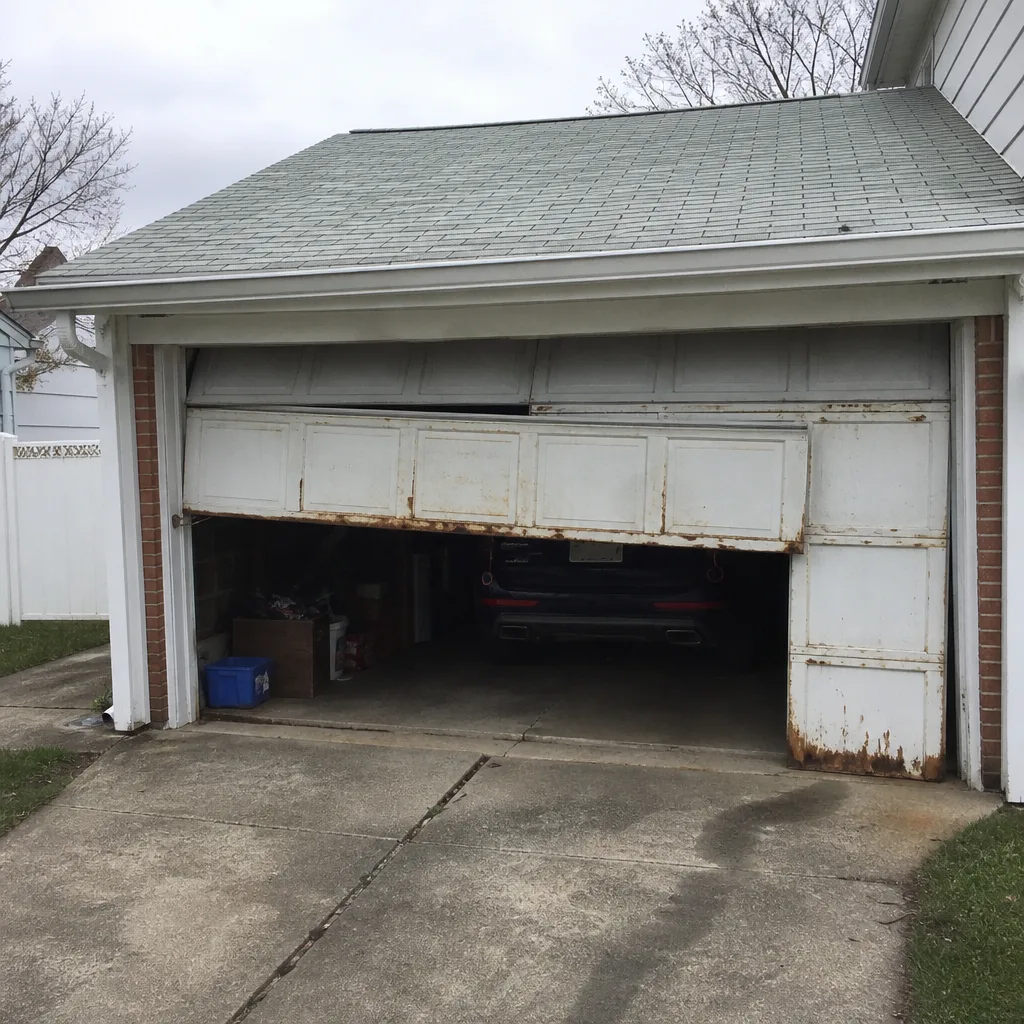 Before
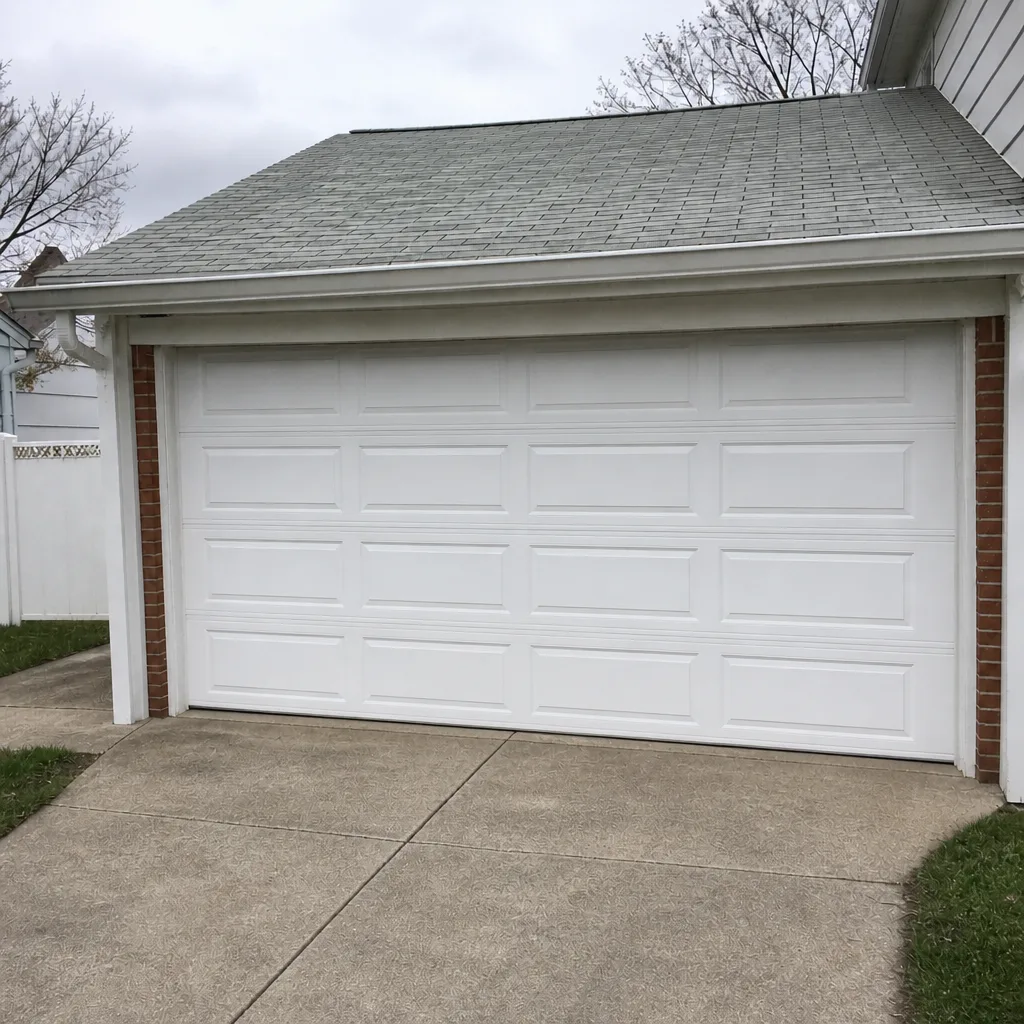 After
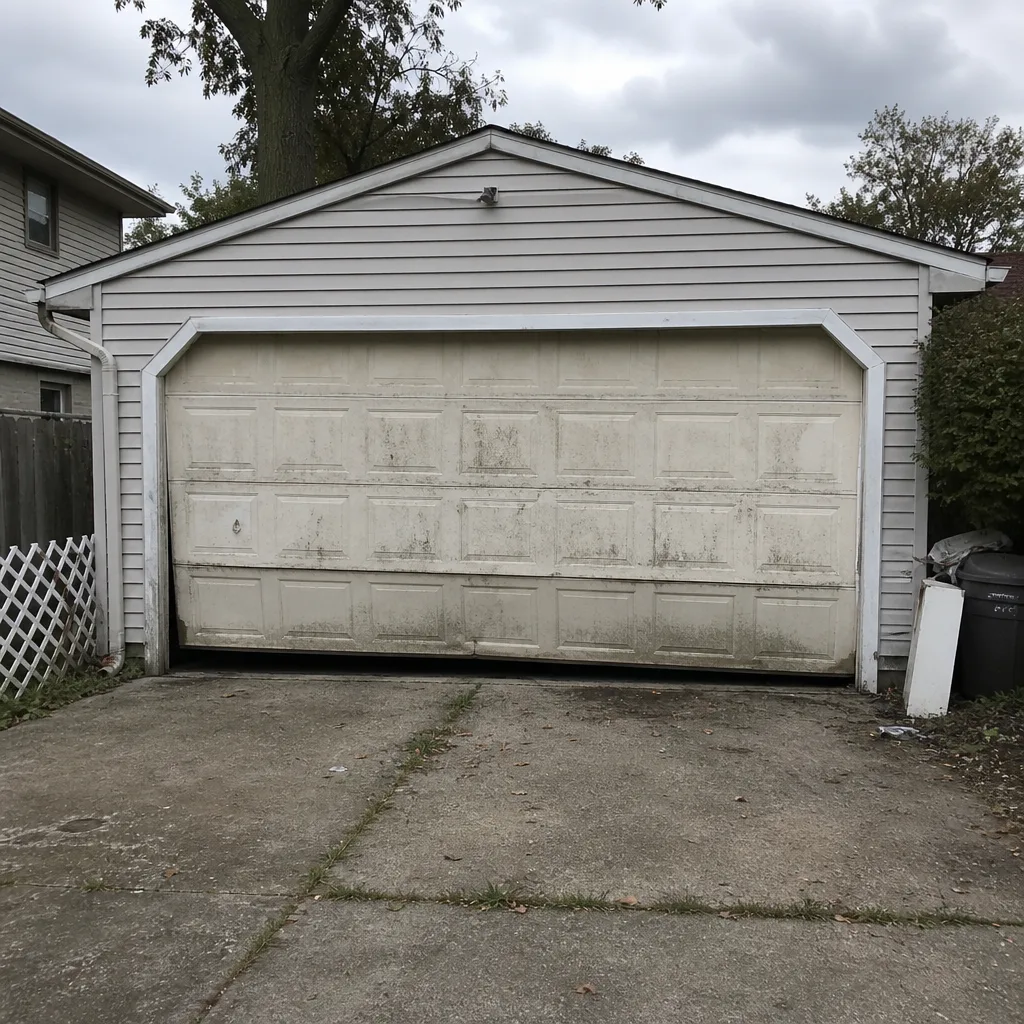 Before
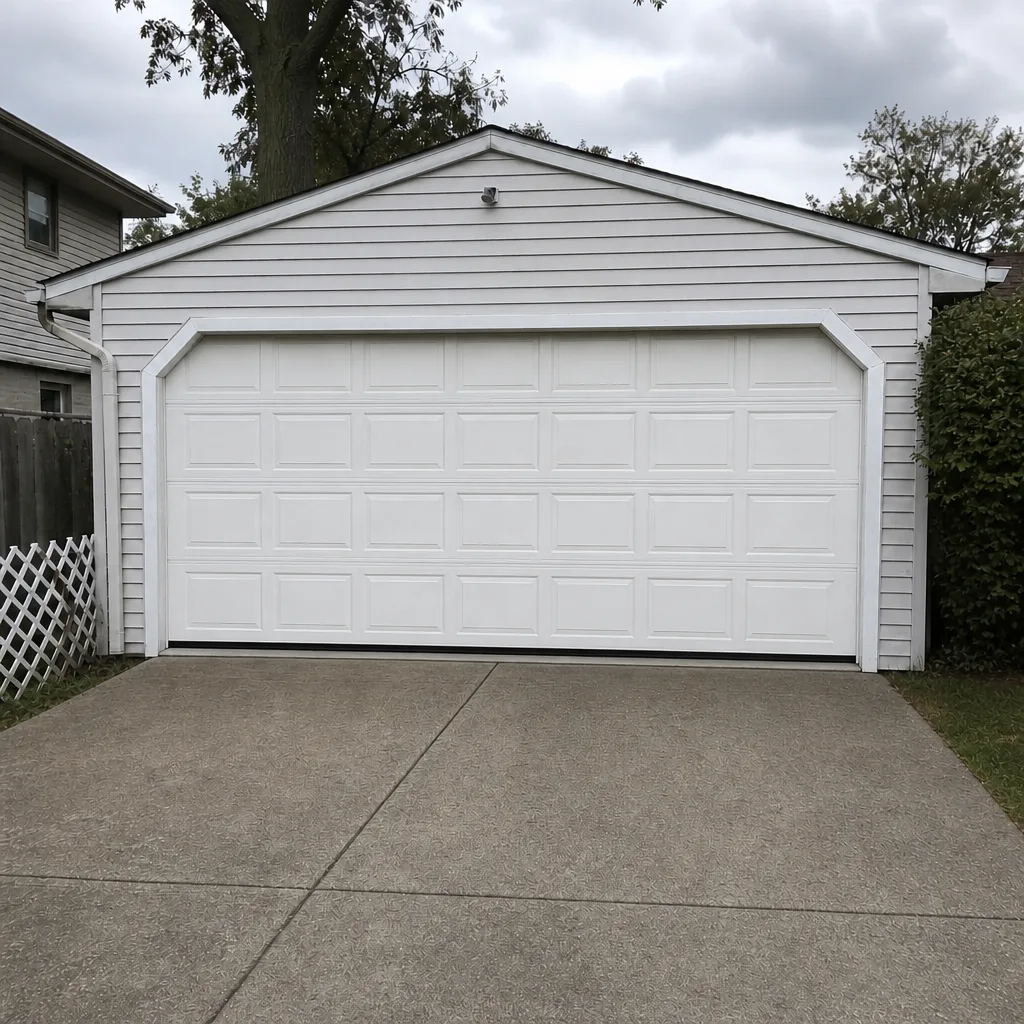 After
When to Call a Professional
Call a professional for any spring or cable work, any job that requires loosening the door’s lifting mechanism, any opener electrical work, and any door that’s off its tracks or binding. Also call if you’ve tried a DIY fix and it didn’t take: a second attempt on the same problem usually means the diagnosis was wrong the first time. If the door has failed and you can’t secure the house, that’s an emergency call, not a scheduled one.
For everything else, use the inspection steps above to decide. We’ve seen enough Levittown doors to know that repair-first is usually the right answer. Most of what gets quoted as a full replacement is a spring, a roller set, or a panel away from working correctly. Our technicians have up to 11 years of experience, and they work on your brand, not ours, whether that’s a LiftMaster opener or a Wayne Dalton door. Levittown Garage Door Repair Experts offers free estimates in Levittown, so call (877) 770-2029 and describe what the door is doing. The written estimate sets the final price, and nothing starts until you agree to it.
Frequently Asked Questions
No. Torsion and extension spring replacement requires specialized winding bars, a specific sequence of adjustments, and the ability to stay clear of stored energy that releases instantly when a spring snaps. The injury risk is severe enough that this job should always go to a trained professional, regardless of your skill level. Call (877) 770-2029 for a spring repair estimate; estimates are free.
It depends on the brand and the component. Cosmetic items and wear parts like seals and rollers usually aren’t covered anyway. Openers are the most warranty-sensitive component, and most manufacturers require professional installation and repair to keep coverage intact. Before you take on any repair beyond lubrication, read your warranty booklet or look up your model number online.
Pricing depends on the component and the door, and the only accurate number comes from a written estimate. A single torsion spring replacement is priced per spring, and a matched pair costs roughly twice a single spring because both are replaced together. Roller, hinge, and seal work sits well below spring pricing. Call (877) 770-2029 for an exact quote for your door; estimates are free.
For most repair and emergency situations, yes. Same-day service is available for doors that won’t open, won’t close, or have come off their tracks. Describe the symptom when you call, since that helps us route the right technician. If you’re not sure whether your situation qualifies, call (877) 770-2029 and we’ll tell you.
That pattern usually means the opener is fine and the problem is in the door: a broken spring, a snapped cable, or a binding track. Pull the release handle and lift the door by hand. If it feels heavy, the spring is the issue. If it moves freely, the problem is in the opener. Don’t force a heavy door. Call (877) 770-2029 for a diagnosis.
Repair first, almost always. Most “failing” doors have a specific component that has worn out, and repairing that component brings the door back to full function at a fraction of replacement cost. Full replacement makes sense when the door is structurally compromised or when panels are no longer available. Our Levittown Garage Door Repair Experts team will give you a straight answer on which applies to your door.
The Bottom Line
The DIY-versus-professional decision comes down to three rules. First, the torsion spring and the cables are always professional work, because the stored energy makes them genuinely dangerous no matter how skilled you are. Second, small jobs (lubrication, remotes, seals, sensors, rollers, hinges) are safe and often cheaper to do yourself if you already own the tools. Third, anything that touches the opener’s electrical system or the door’s weight-bearing mechanism should go to a technician, both for safety and for warranty protection. Levittown’s older framing and low-headroom garages tip more jobs toward the professional column than they would in newer construction. When in doubt, get the free estimate first.
Written by the team at Levittown Garage Door Repair Experts.